> ## Documentation Index
> Fetch the complete documentation index at: https://developer.tryfinch.com/llms.txt
> Use this file to discover all available pages before exploring further.
# Quickstart
> This API Quickstart guide will help you send your first request to Finch, the unified API for HR and payroll.
To get started, sign up for a sandbox account [here](https://dashboard.tryfinch.com/signup). After registration, you will have access to a sandbox application `client_id` and `client_secret` to build and test how Finch works using simulated data.
This guide will help you send your first request to Finch's API while the following guides dive deeper into the concepts and help you integrate Finch into your production application.
## Open Finch Connect in sandbox mode
Finch Connect provides a secure and elegant authorization flow for your users to grant your application access to their systems.
Note: this quickstart guide is a simplified, but manual way of generating an authorization `code` and exchanging it for an `access_token`, which can be used to subsequently call our APIs. In a true production environment, you will want to automate this process completely inside your application's code.
Since this quickstart assumes you have not built an application yet, we must make sure that a proper `redirect_uri` is set up before continuing or our authorization code generation will fail. In your [Finch Dashboard](https://dashboard.tryfinch.com/signup), go to the "Redirect URIs" section and select `+ Add Redirect URI`. We are going to use [https://example.com](https://example.com) for testing purposes. In production, you will want to use your own application's urls for the Redirect Uris (and remove all mentions of [https://example.com](https://example.com) or [http://localhost](http://localhost)).
Redirect URIs are only needed if you are redirecting to Finch Connect. If you decide to use our embedded Finch Connect flow, you do not need to specify a redirect\_uri; the SDK does this for you.
We will launch [Finch Connect](/how-finch-works/finch-connect) - our secure authorization flow for your users to grant your application access to their systems - by making an API call to the endpoint below. Make sure to replace `` with the client id found in your [Finch Dashboard](https://dashboard.tryfinch.com/signup). Remove the angle brackets when replacing ``. `customer_id` and `customer_name` can be any identifiers you have internally for your end users. After the API call succeeds, navigate to the URL found in the response body on your browser.
```cs theme={null}
curl https://api.tryfinch.com/connect/sessions \
-X POST \
-H "Content-Type: application/json" \
-u ":" \
--data-raw '{
"customer_id": "",
"customer_name": "",
"products": ["directory", "individual", "employment"],
"redirect_uri": "https://example.com",
"sandbox": "finch"
}'
```
```cs theme={null}
{
"session_id": "f47ac10b-58cc-4372-a567-0e02b2c3d479",
"connect_url": "https://connect.tryfinch.com/authorize?session=f47ac10b-58cc-4372-a567-0e02b2c3d479"
}
```
Note that we have set `sandbox=finch`. This is required only when testing in our [sandbox environment](/implementation-guide/Test/Finch-Sandbox)
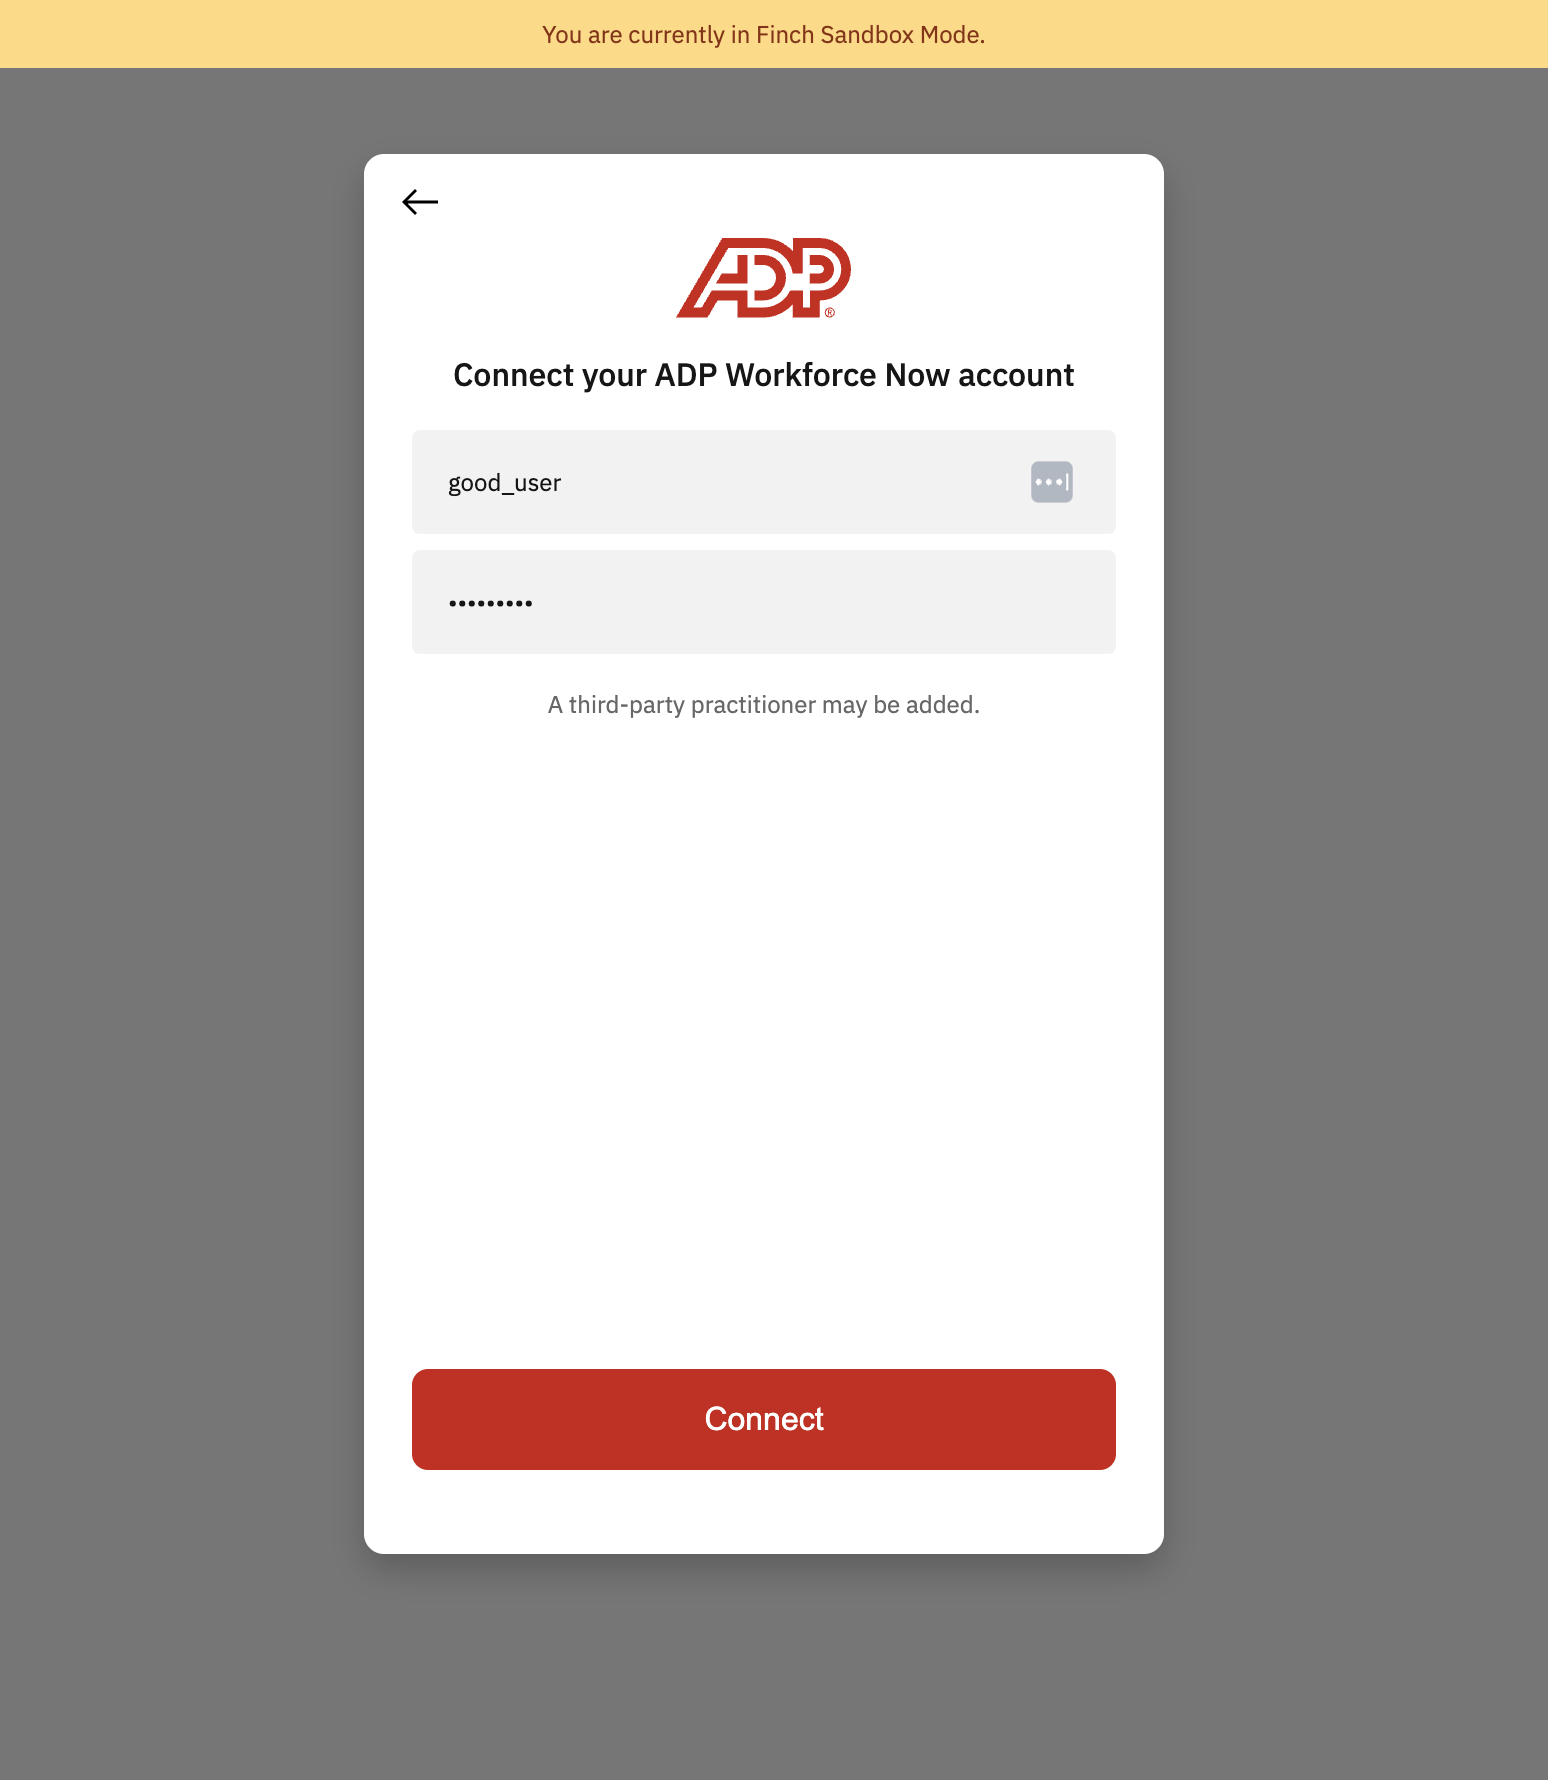
## Log in to the Finch sandbox account
Select any provider on the selector page and log in with [valid mock credentials](/implementation-guide/Test/Finch-Sandbox#simulating-credential-flows). For example, you can choose ADP Workforce Now and log in with the credentials `good_user` and `good_pass`.
 ## Exchange the authorization code for an access token
After successfully logging in via Finch Connect, your browser will be redirected to `https://example.com` with the query parameter `code` in the browser URL. Copy the `code` from the url and save it in your text editor. In a production system, however, the browser will redirect to your url and your application will automatically copy the `code` and perform the remaining steps programmatically.
To exchange the `code` for a token, we use the `curl` command below. Copy the code below, paste into your text editor, replace the `` in the command with the one you saved above (making sure to not include the angle brackets).
```bash theme={null}
curl https://api.tryfinch.com/auth/token \
-X POST \
-H "Content-Type: application/json" \
--data-raw '{
"client_id": "",
"client_secret": "",
"code": "",
"redirect_uri": "https://example.com"
}'
```
```json theme={null}
{
"company_id": "4ab15e51-11ad-49f4-acae-f343b7794375",
"account_id": "ac3a2af9-ce03-46c4-9142-81abe789c64d",
"connection_id": "bc3a2af9-ce03-46c4-9142-81abe789c64d",
"provider_id": "adp_workforce_now",
"products": ["directory", "individual", "employment"],
"client_type": "production",
"connection_type": "provider",
"access_token": "7e965183-9332-423c-9259-3edafb332ad2",
"customer_id": "7ff74b71-0413-4dbb-a18f-18b1afef4ce6",
"token_type": "bearer"
}
```
**Congratulations!**
You have sent your first request to Finch's API. The next step is to embed [Finch Connect](/implementation-guide/Connect/Set-Up-Finch-Connect) into your application.
## Exchange the authorization code for an access token
After successfully logging in via Finch Connect, your browser will be redirected to `https://example.com` with the query parameter `code` in the browser URL. Copy the `code` from the url and save it in your text editor. In a production system, however, the browser will redirect to your url and your application will automatically copy the `code` and perform the remaining steps programmatically.
To exchange the `code` for a token, we use the `curl` command below. Copy the code below, paste into your text editor, replace the `` in the command with the one you saved above (making sure to not include the angle brackets).
```bash theme={null}
curl https://api.tryfinch.com/auth/token \
-X POST \
-H "Content-Type: application/json" \
--data-raw '{
"client_id": "",
"client_secret": "",
"code": "",
"redirect_uri": "https://example.com"
}'
```
```json theme={null}
{
"company_id": "4ab15e51-11ad-49f4-acae-f343b7794375",
"account_id": "ac3a2af9-ce03-46c4-9142-81abe789c64d",
"connection_id": "bc3a2af9-ce03-46c4-9142-81abe789c64d",
"provider_id": "adp_workforce_now",
"products": ["directory", "individual", "employment"],
"client_type": "production",
"connection_type": "provider",
"access_token": "7e965183-9332-423c-9259-3edafb332ad2",
"customer_id": "7ff74b71-0413-4dbb-a18f-18b1afef4ce6",
"token_type": "bearer"
}
```
**Congratulations!**
You have sent your first request to Finch's API. The next step is to embed [Finch Connect](/implementation-guide/Connect/Set-Up-Finch-Connect) into your application.