Deel Onboarding Guide
- Create a Deel account
- Create a Deel OAuth application
- Connect your Deel OAuth application to Finch
Integrating Deel via Finch makes your organization eligible for the Deel Partner Program. This includes go-to-market motions and revenue share opportunities with Deel. If you are interested or have already built an app, reach out here to learn more about the program.
Step 1: Create a Deel account
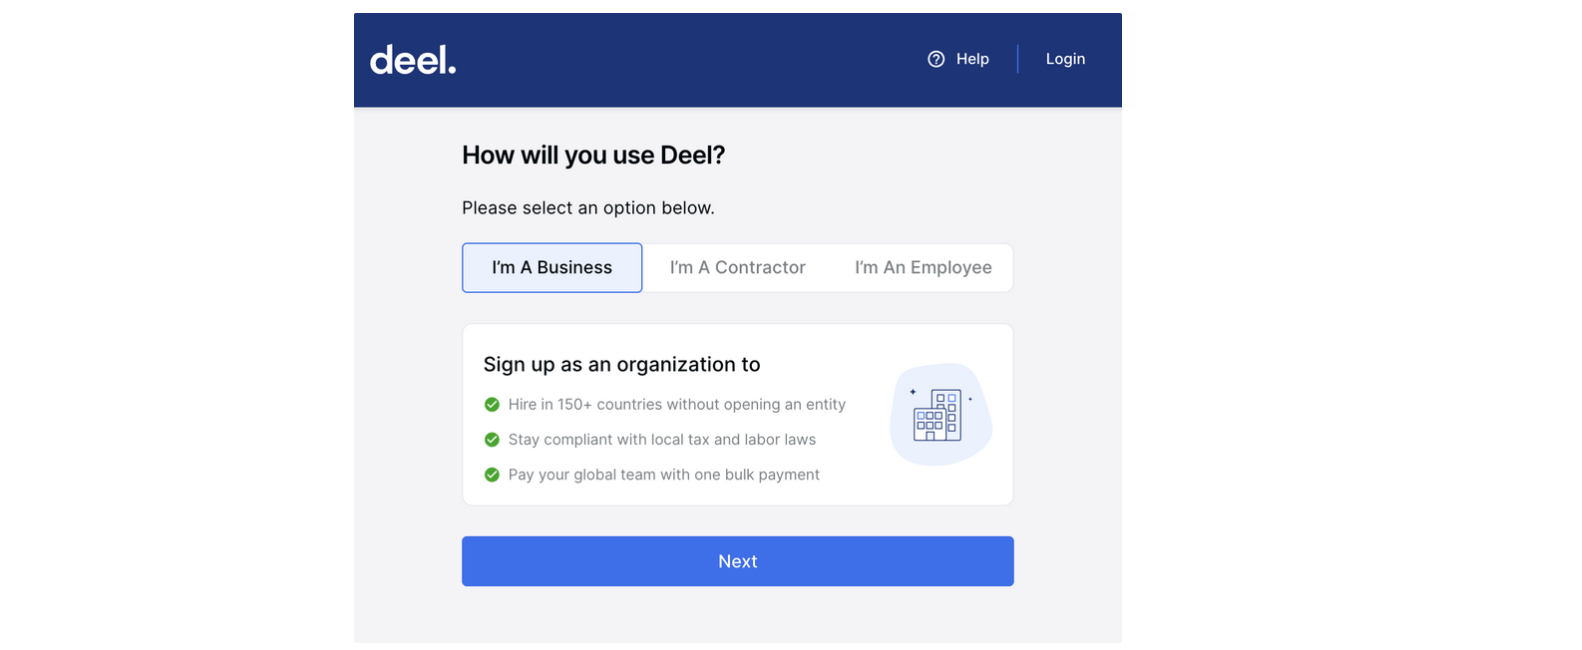
If your company does not already have an account with Deel, you’ll need to create one. To create an account, follow the instructions below.- Navigate to https://app.deel.com/signup in your browser
-
Select the I’m A Business option and click Next
-
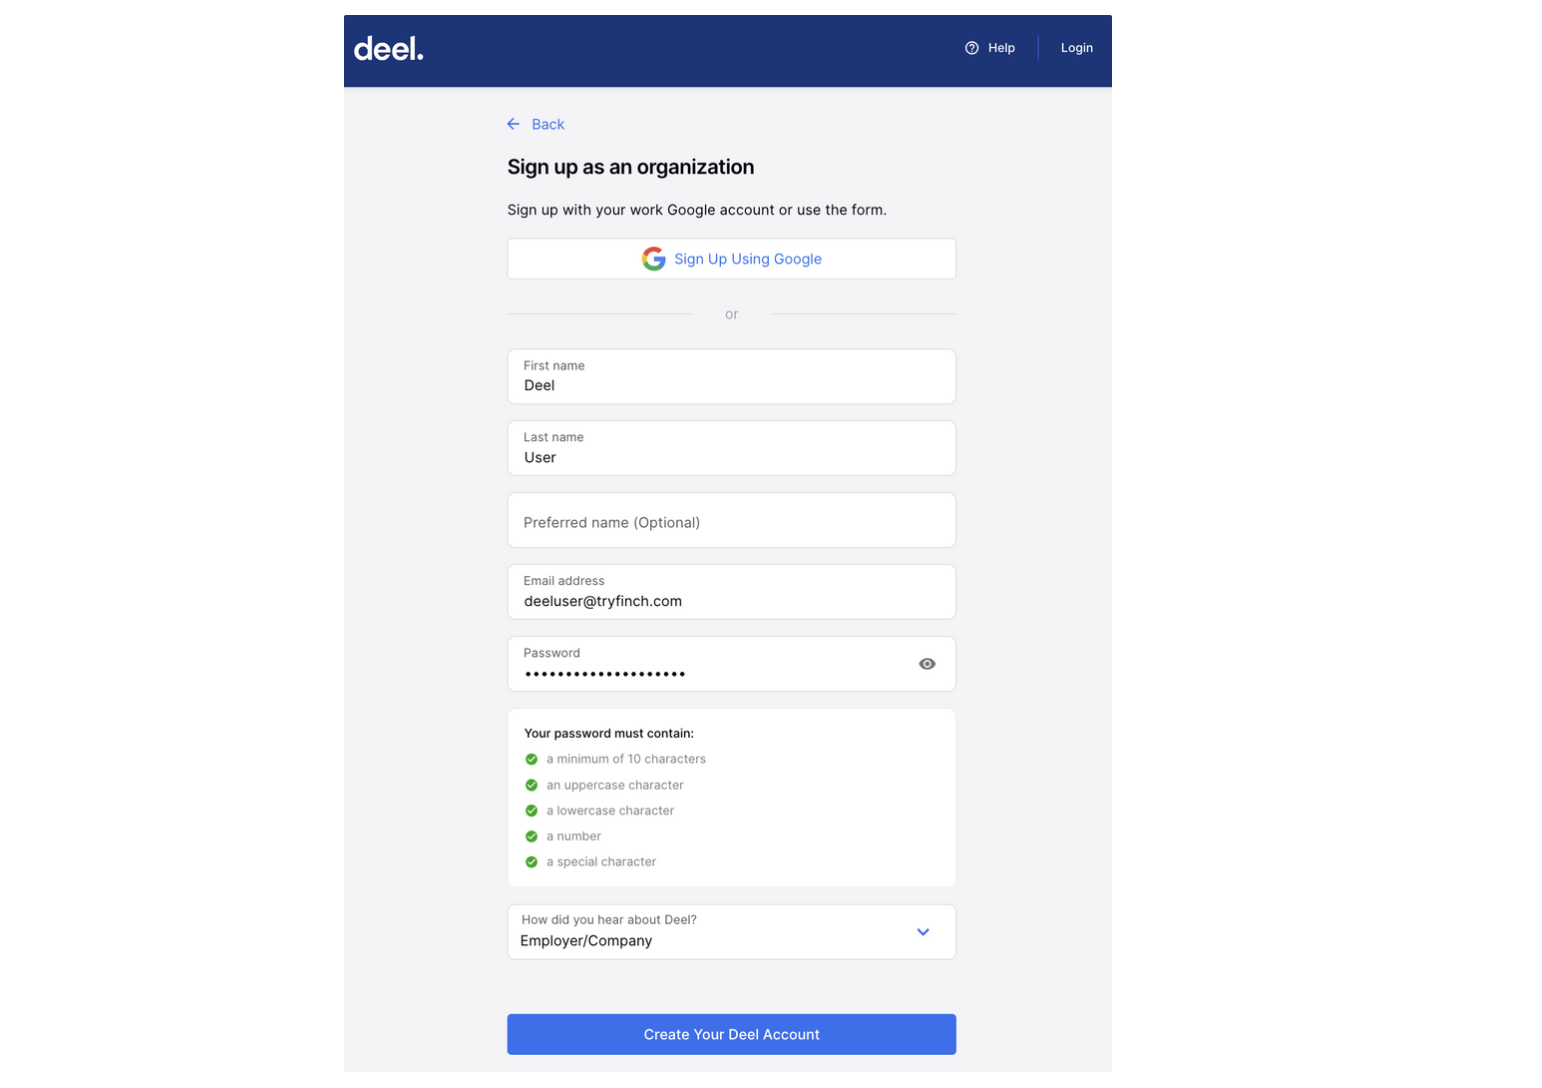
Either Sign Up Using Google SSO or fill in the form below and select Create Your Deel Account
-
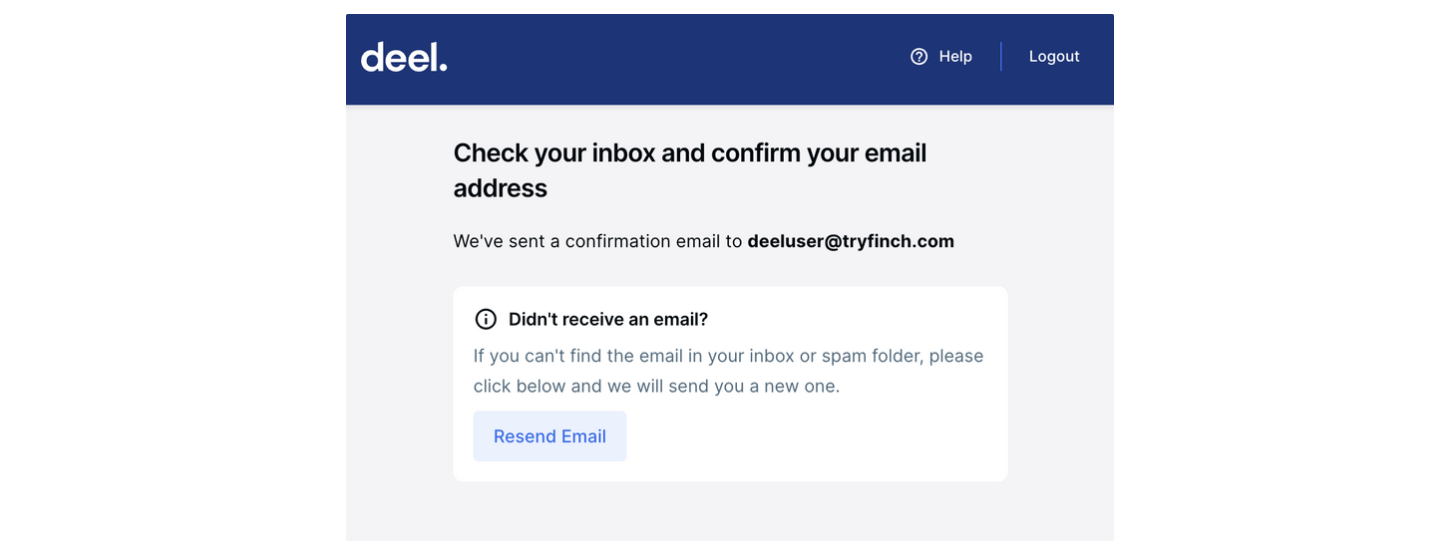
If your form was submitted successfully, you’ll be taken to a confirmation page. You should now have received an email confirmation in your inbox. Open this email and follow the ensuing instructions to log into your generated account.
-
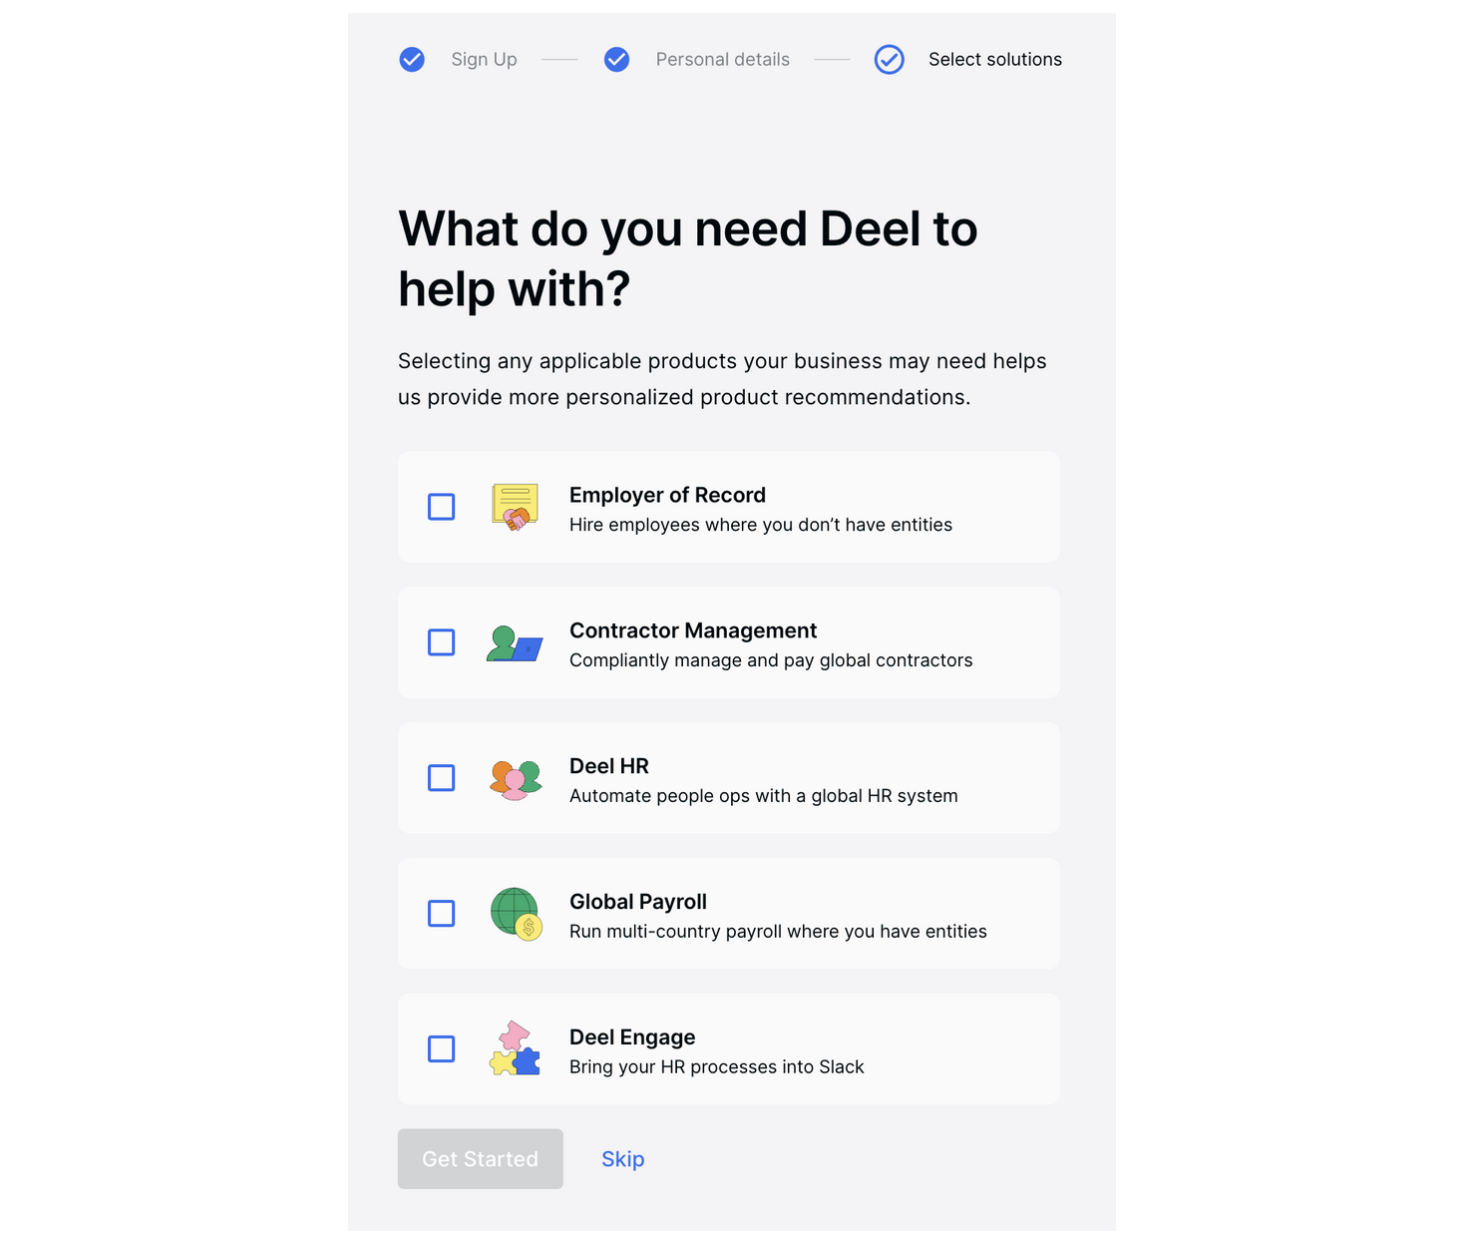
After logging into your account, follow the ensuing instructions to complete your account setup. When prompted with the solutions selection page, you may select Skip, and proceed with the remaining steps to complete your setup.
-
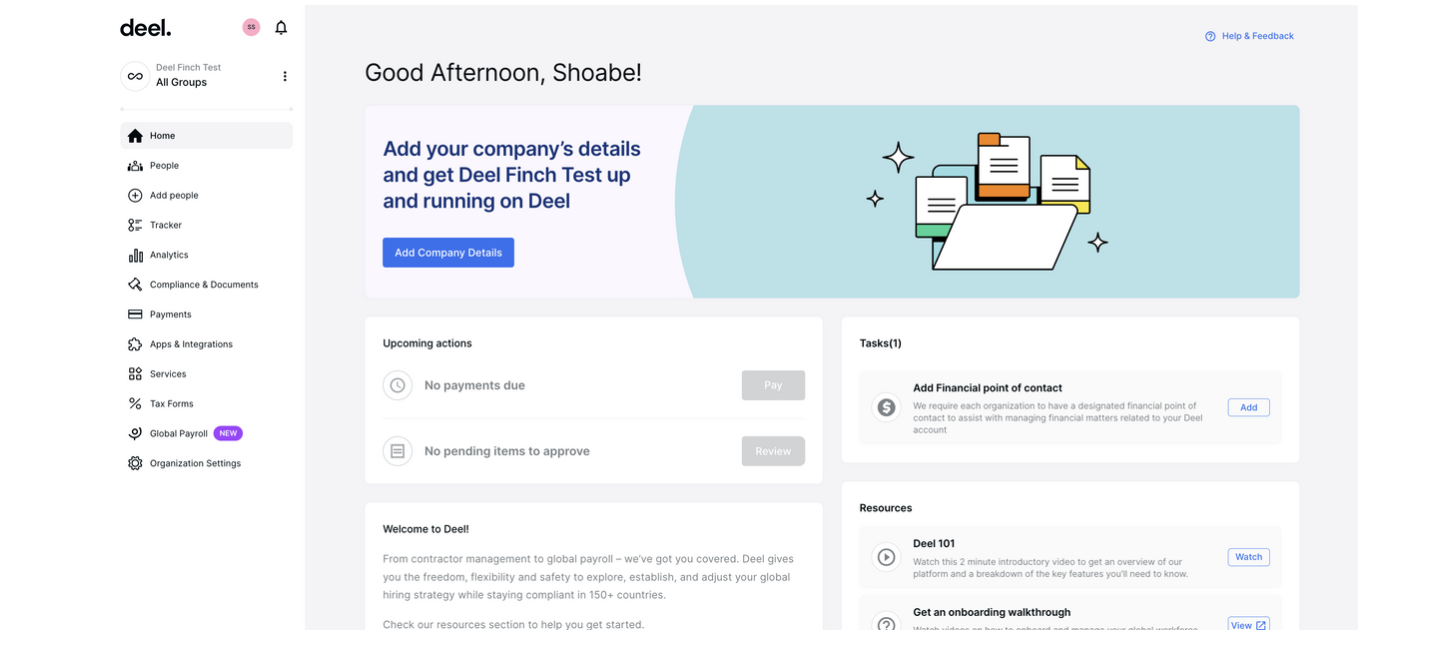
Voila! Your account setup is now complete! You should now be looking at your Deel home page, which should look something like the screenshot below.
Step 2: Create a Deel OAuth application
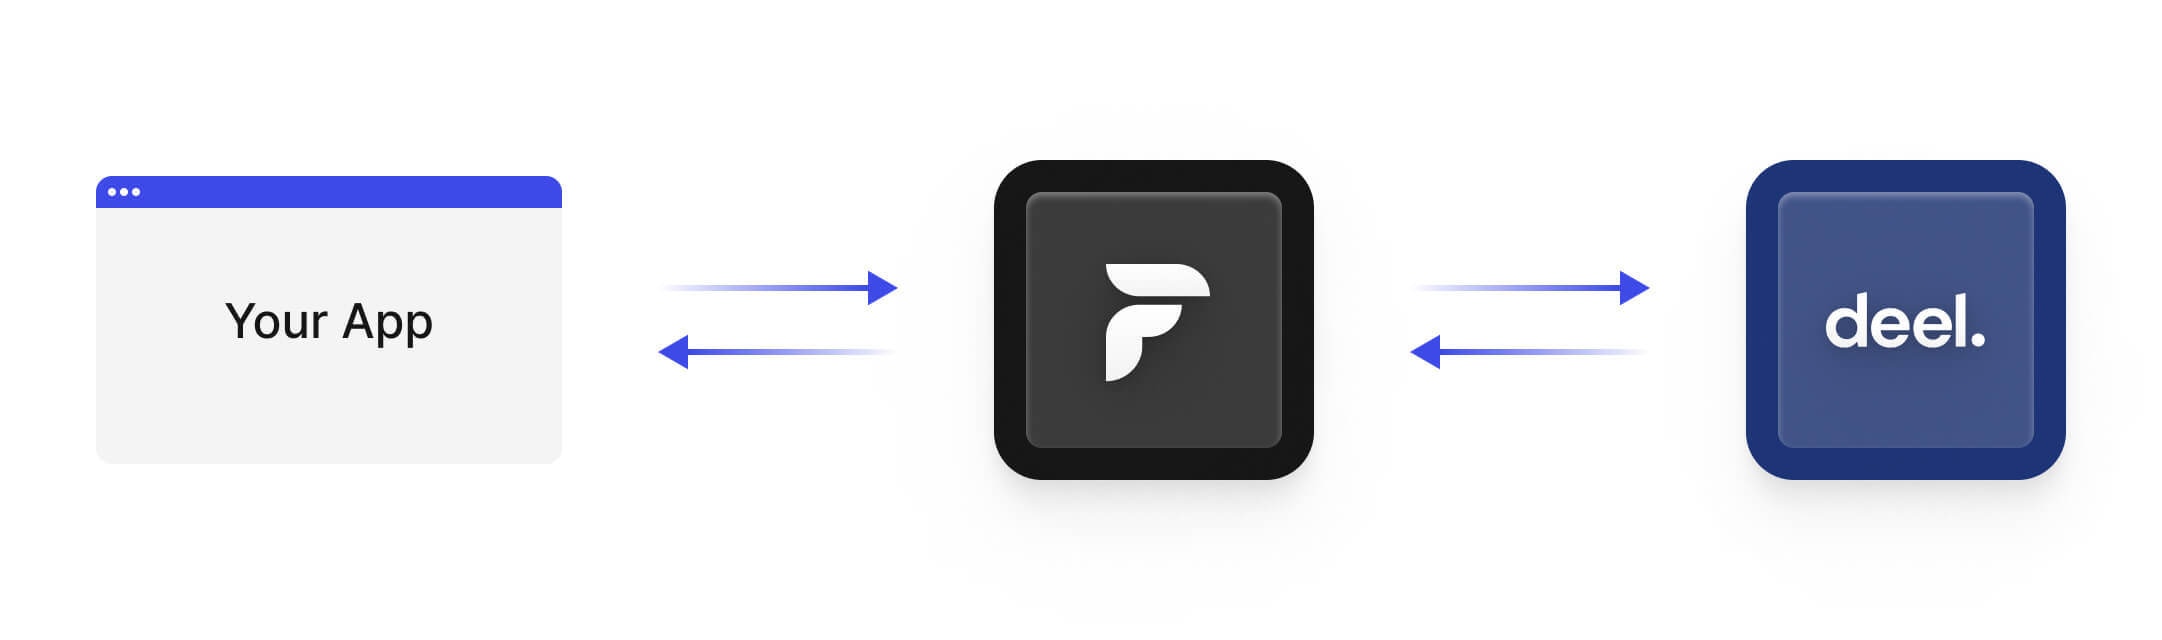
To create a Deel OAuth application, you must be an Organization Admin or an IT Developer Admin. Organization Admin: The highest level of visibility and permissions. Can manage all aspects of the organization. This includes everything from members, billing, and other organization-wide settings. IT Developer Admin: Can build apps using Deel’s API or subscribing to webhooks. They can also set up any native integration. More details can be found here.You’ll need to create and publish a Deel app for your customers to authorize your access to their data. Deel uses OAuth 2.0’s authorization code grant flow to issue access tokens that grant access to specific groups of data. Please consult Deel’s public documentation for more information on the OAuth2 flow. Follow the instructions below to create and publish your Deel OAuth application.
- Log into your organization’s Deel account. If you do not already have a Deel account, please follow the instructions laid out in the Create a Deel Account section.
-
Follow Deel’s Create an App guide to create your app. Be sure to set your app type to Organization and to set your app’s Redirect URL to
https://connect.tryfinch.com/auth/deel!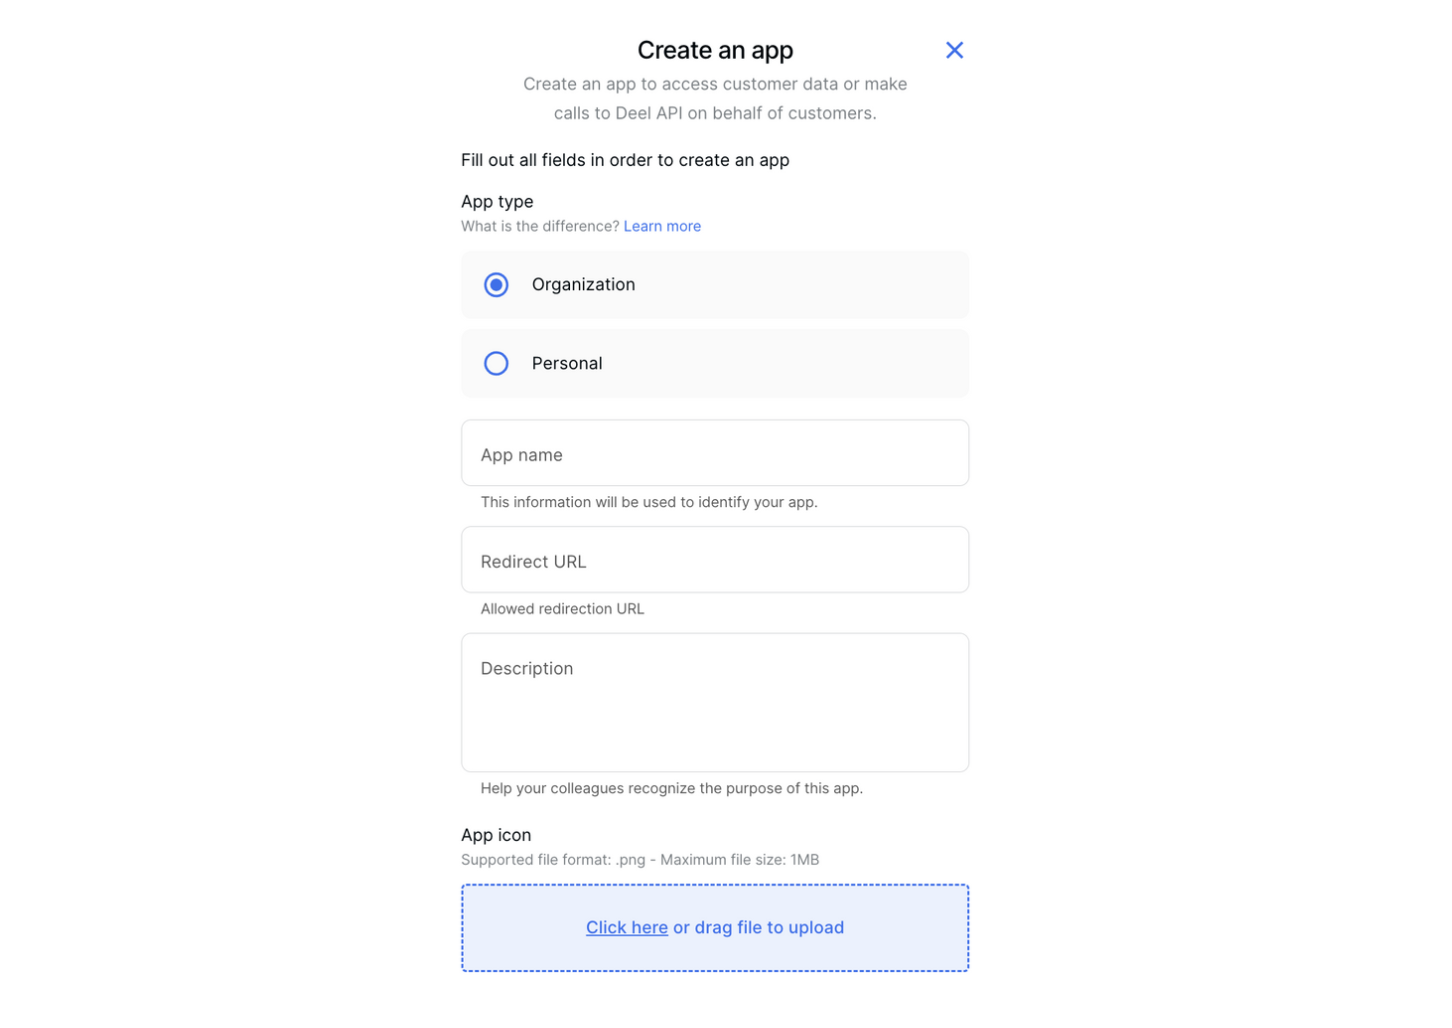
IMPORTANT: Copy and store your app secret (client secret) as it won’t show again!

- Follow Deel’s Publish an App guide to publish the app you just created. In production, all apps are submitted for review by default so you don’t need to do anything for this step to initialize the publishing process. You may need to wait a few business days for Deel to officially publish your app.
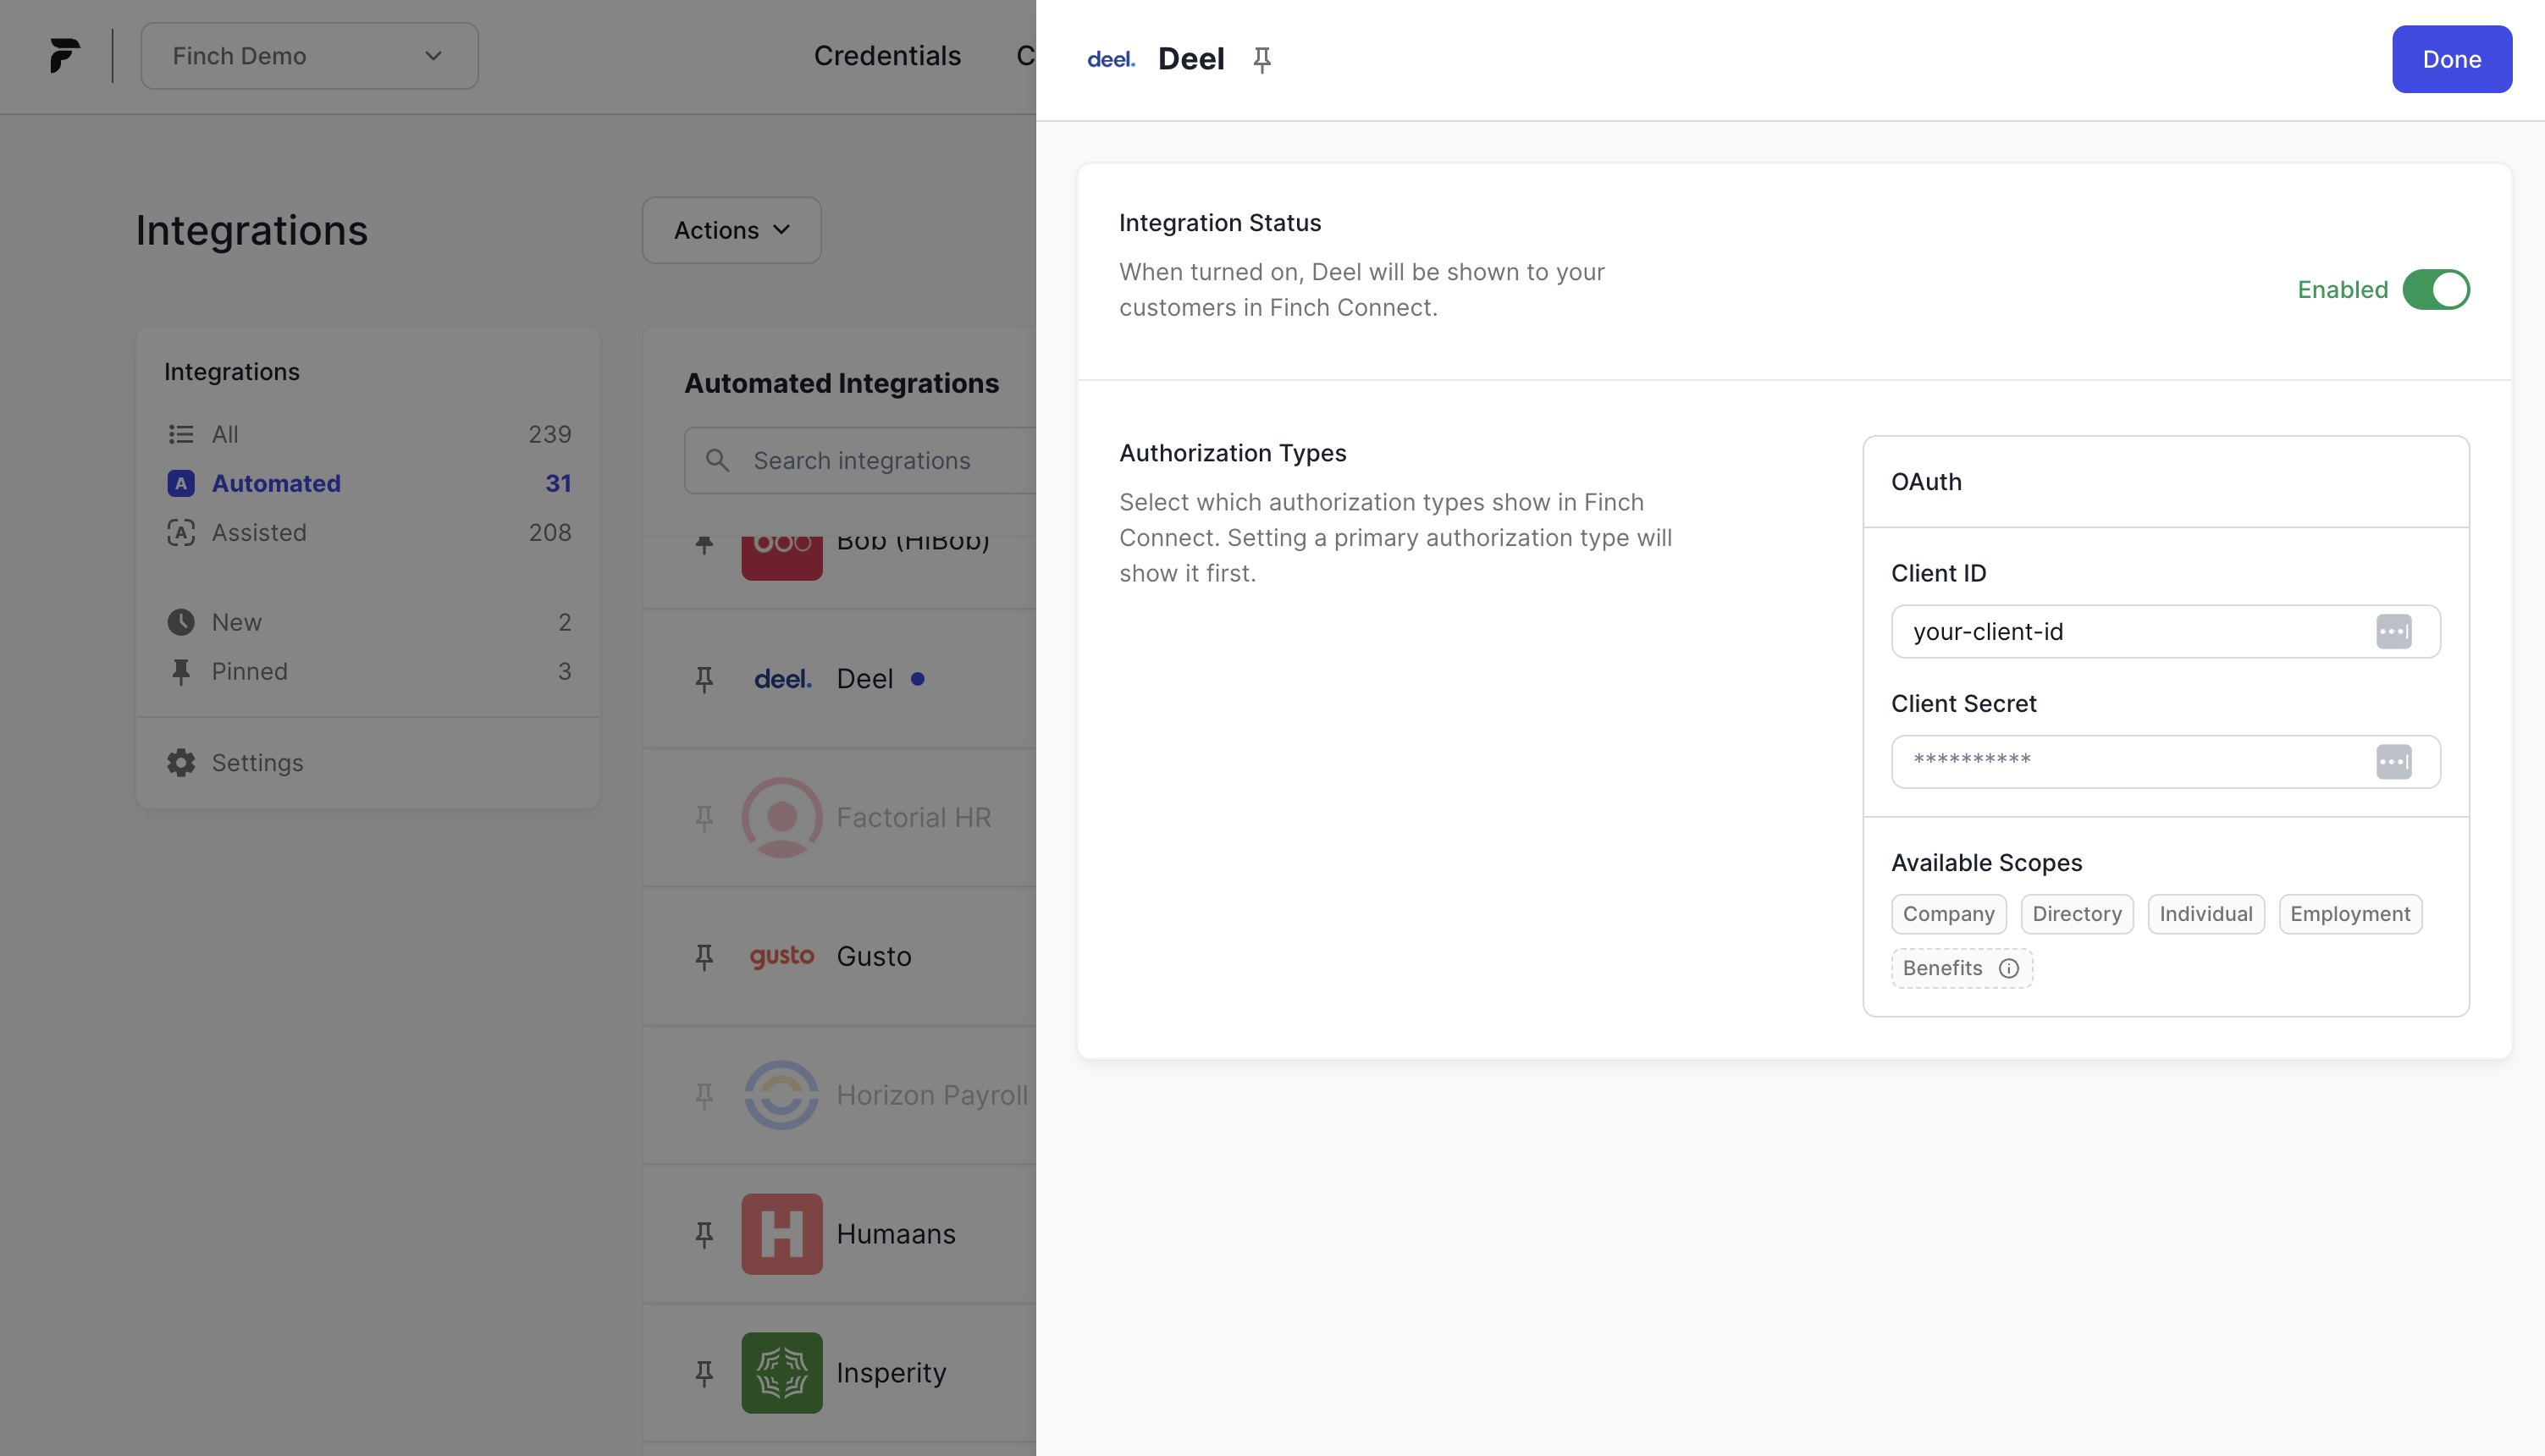
Step 3: Connect your Deel OAuth application to Finch
The final step in your process is to configure your Deel integration with Finch. To do this, visit the Integrations tab of the Finch Dashboard, select Deel, and enter the client ID and client secret you generated in the previous step.