Open Finch Connect
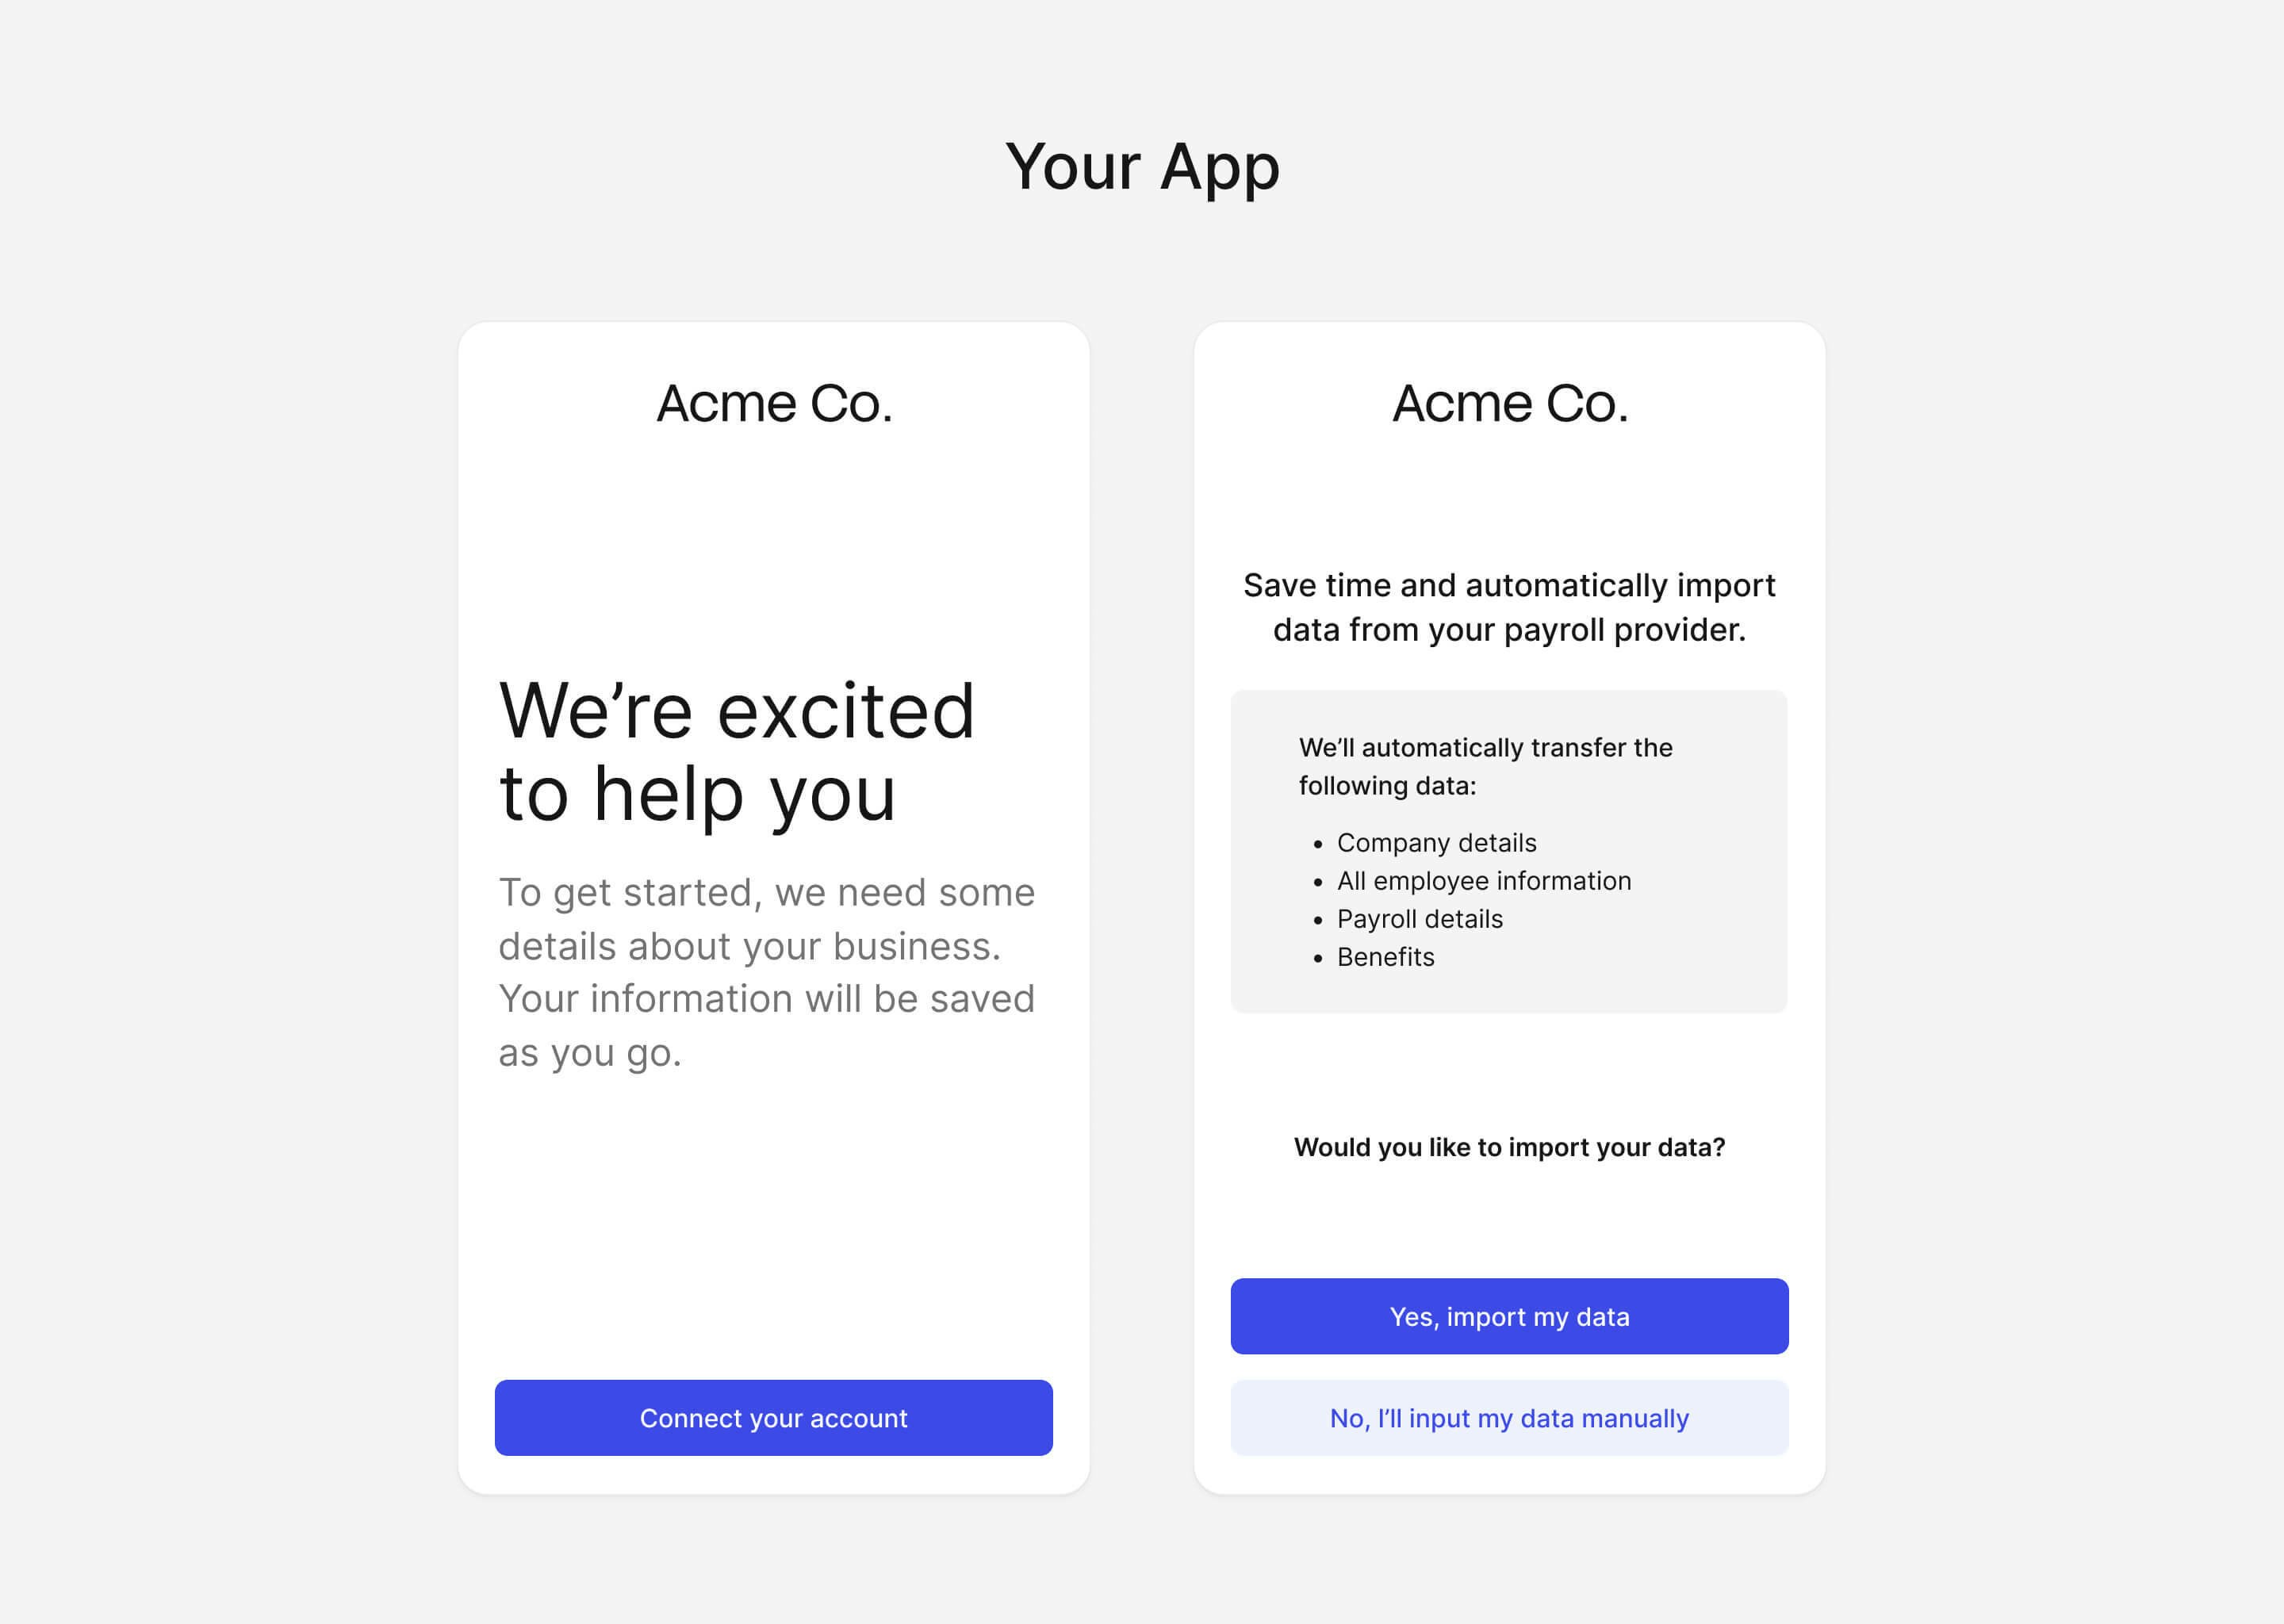
Connect a provider
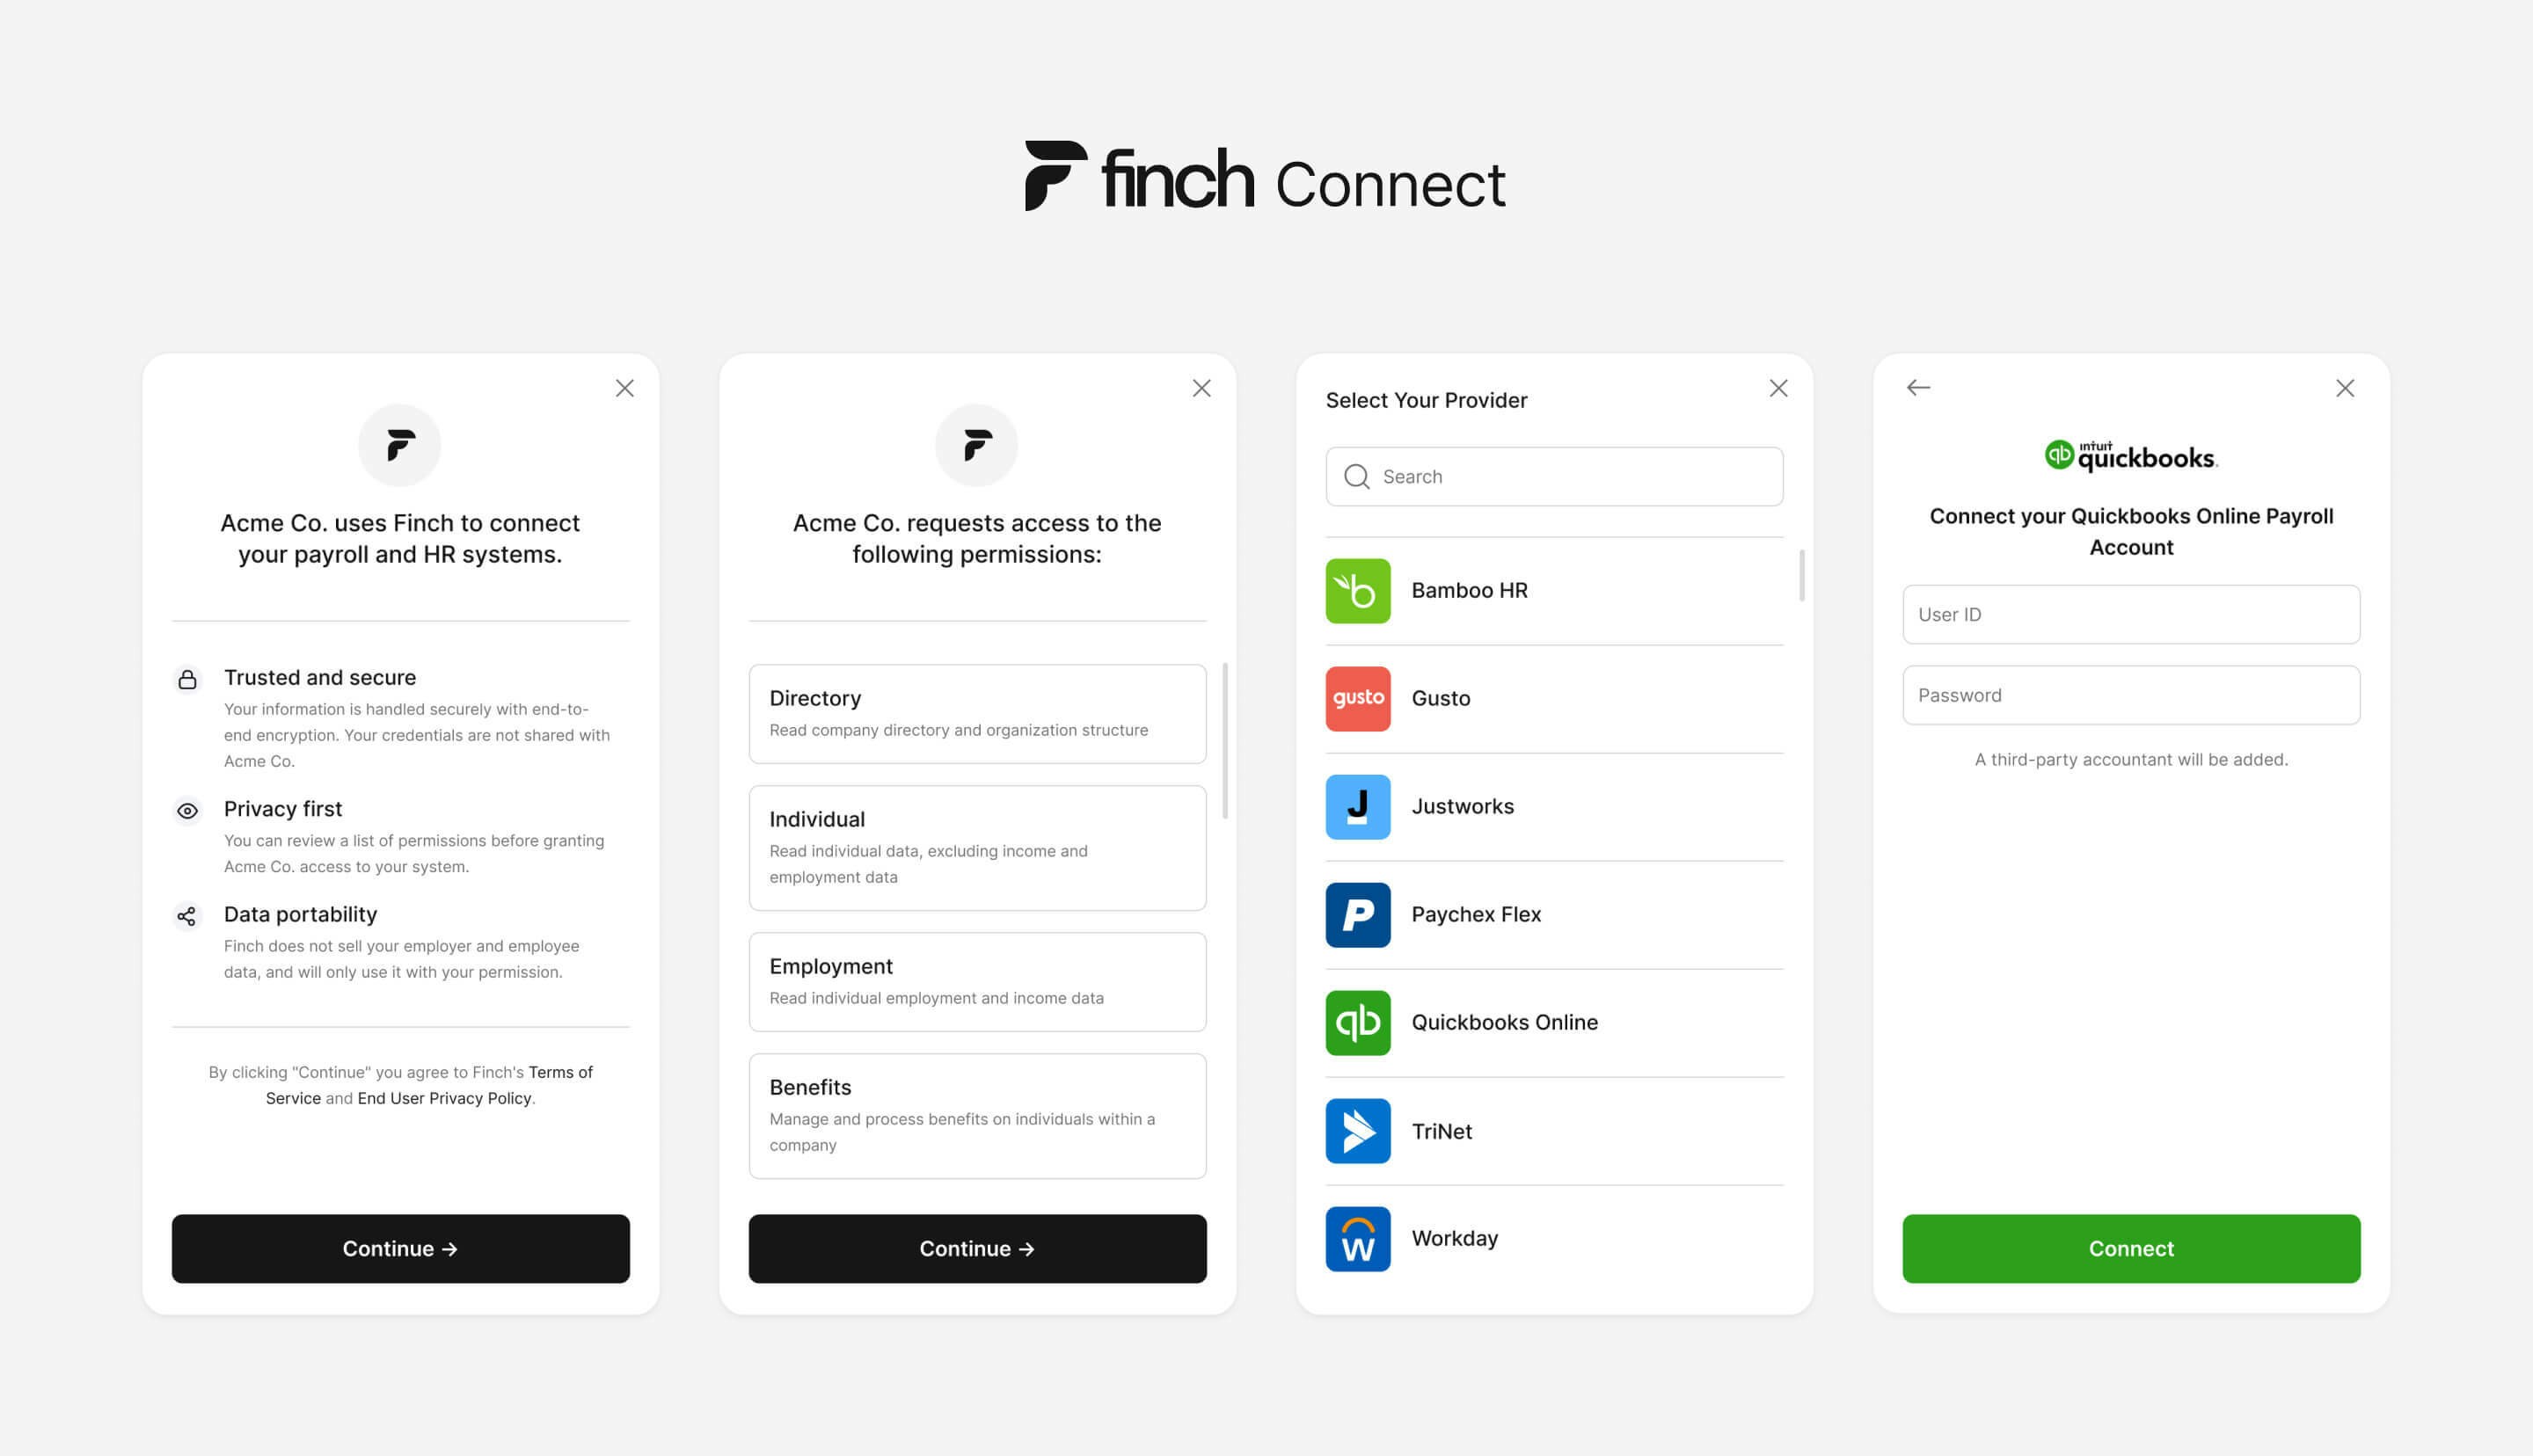
- Read privacy disclosures - Finch Connect discloses data privacy practices right from the start, so your customers know where and how their data is used.
- Confirm permissions - Finch Connect displays the granular permissions needed to access the requested data. Finch only shares data that has been approved.
- Select a provider - Your customer can then select their employment system from Finch’s list of 200+ integrations.
- Authenticate access - Finch Connect prompts your customer to log in to their employment system, and grant you access to requested data. Finch Connect will only succeed if the user is an employer admin with permissions to view the full employee directory and view the full company payroll.
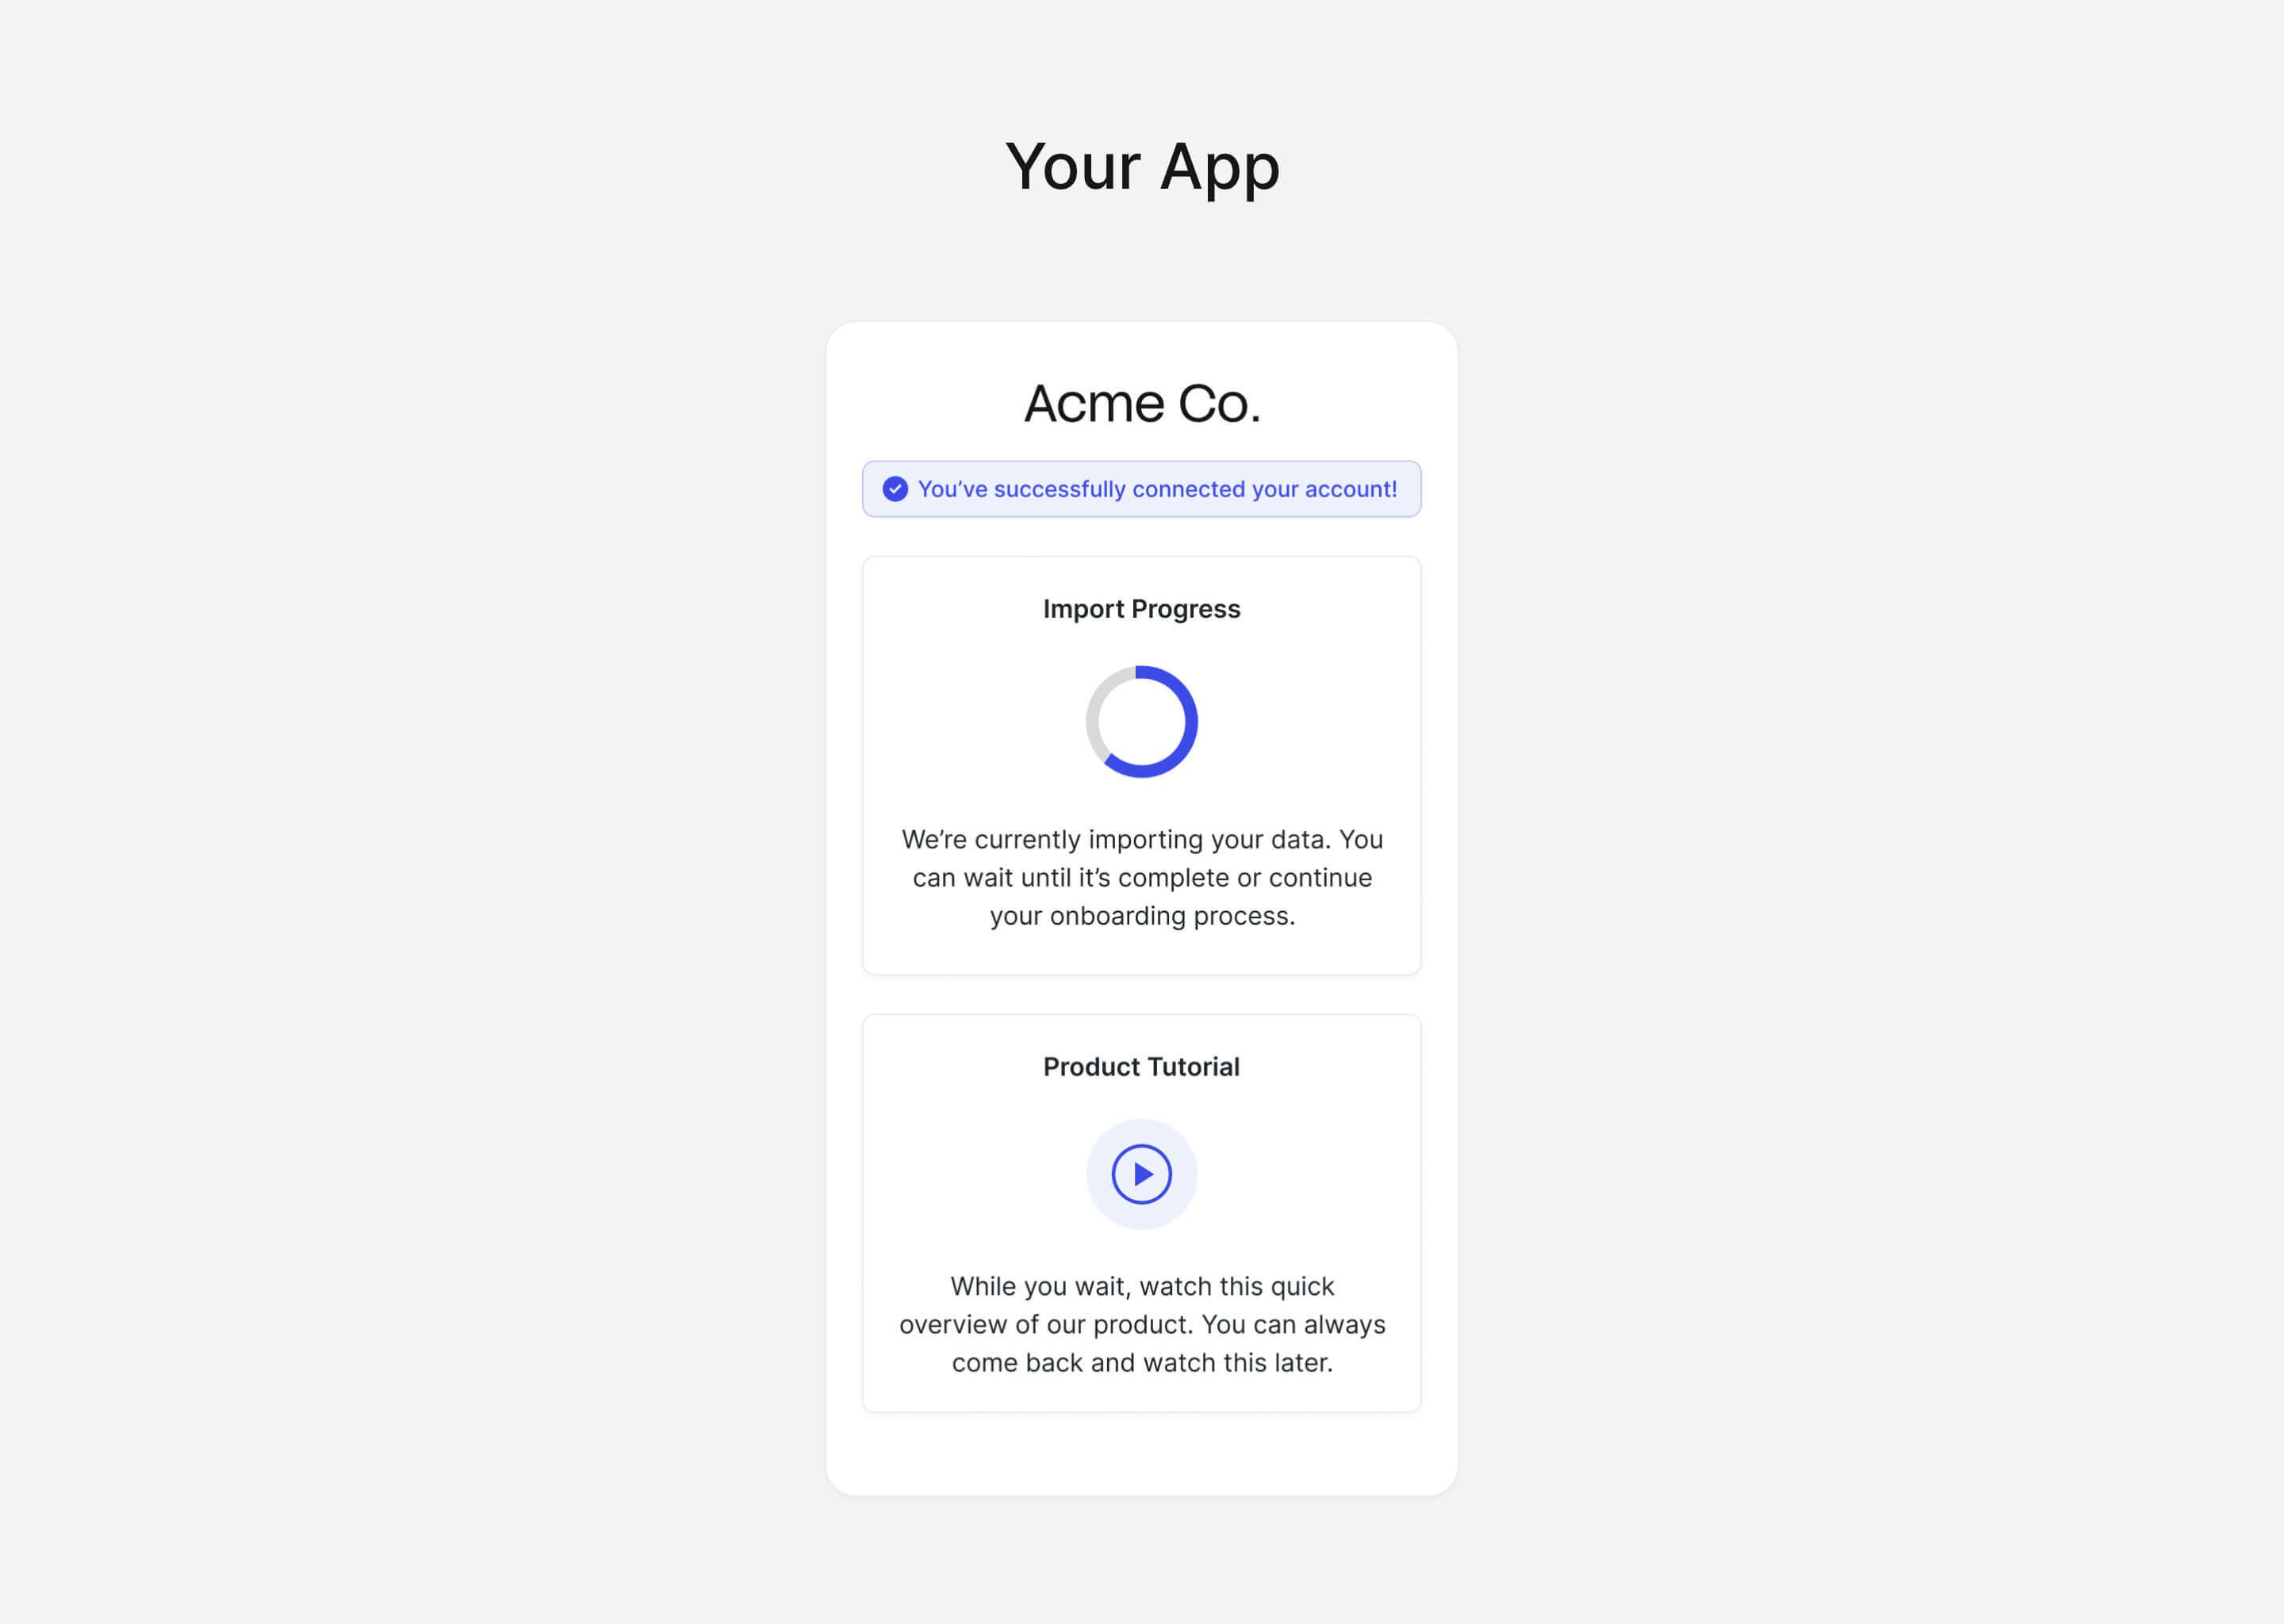
Receive Data