New to Finch Connect or looking for help getting started? Read the Finch Overview.Apply the following best practices when implementing Finch Connect to maximize employer completion rates.
1. Set Finch Connect as the default integration option
Present Finch Connect as the primary option rather than listing it alongside manual flows as equal alternatives. Give it visual prominence through size, positioning, and a label like “Recommended” or “Preferred”. Any manual alternatives should be clearly secondary.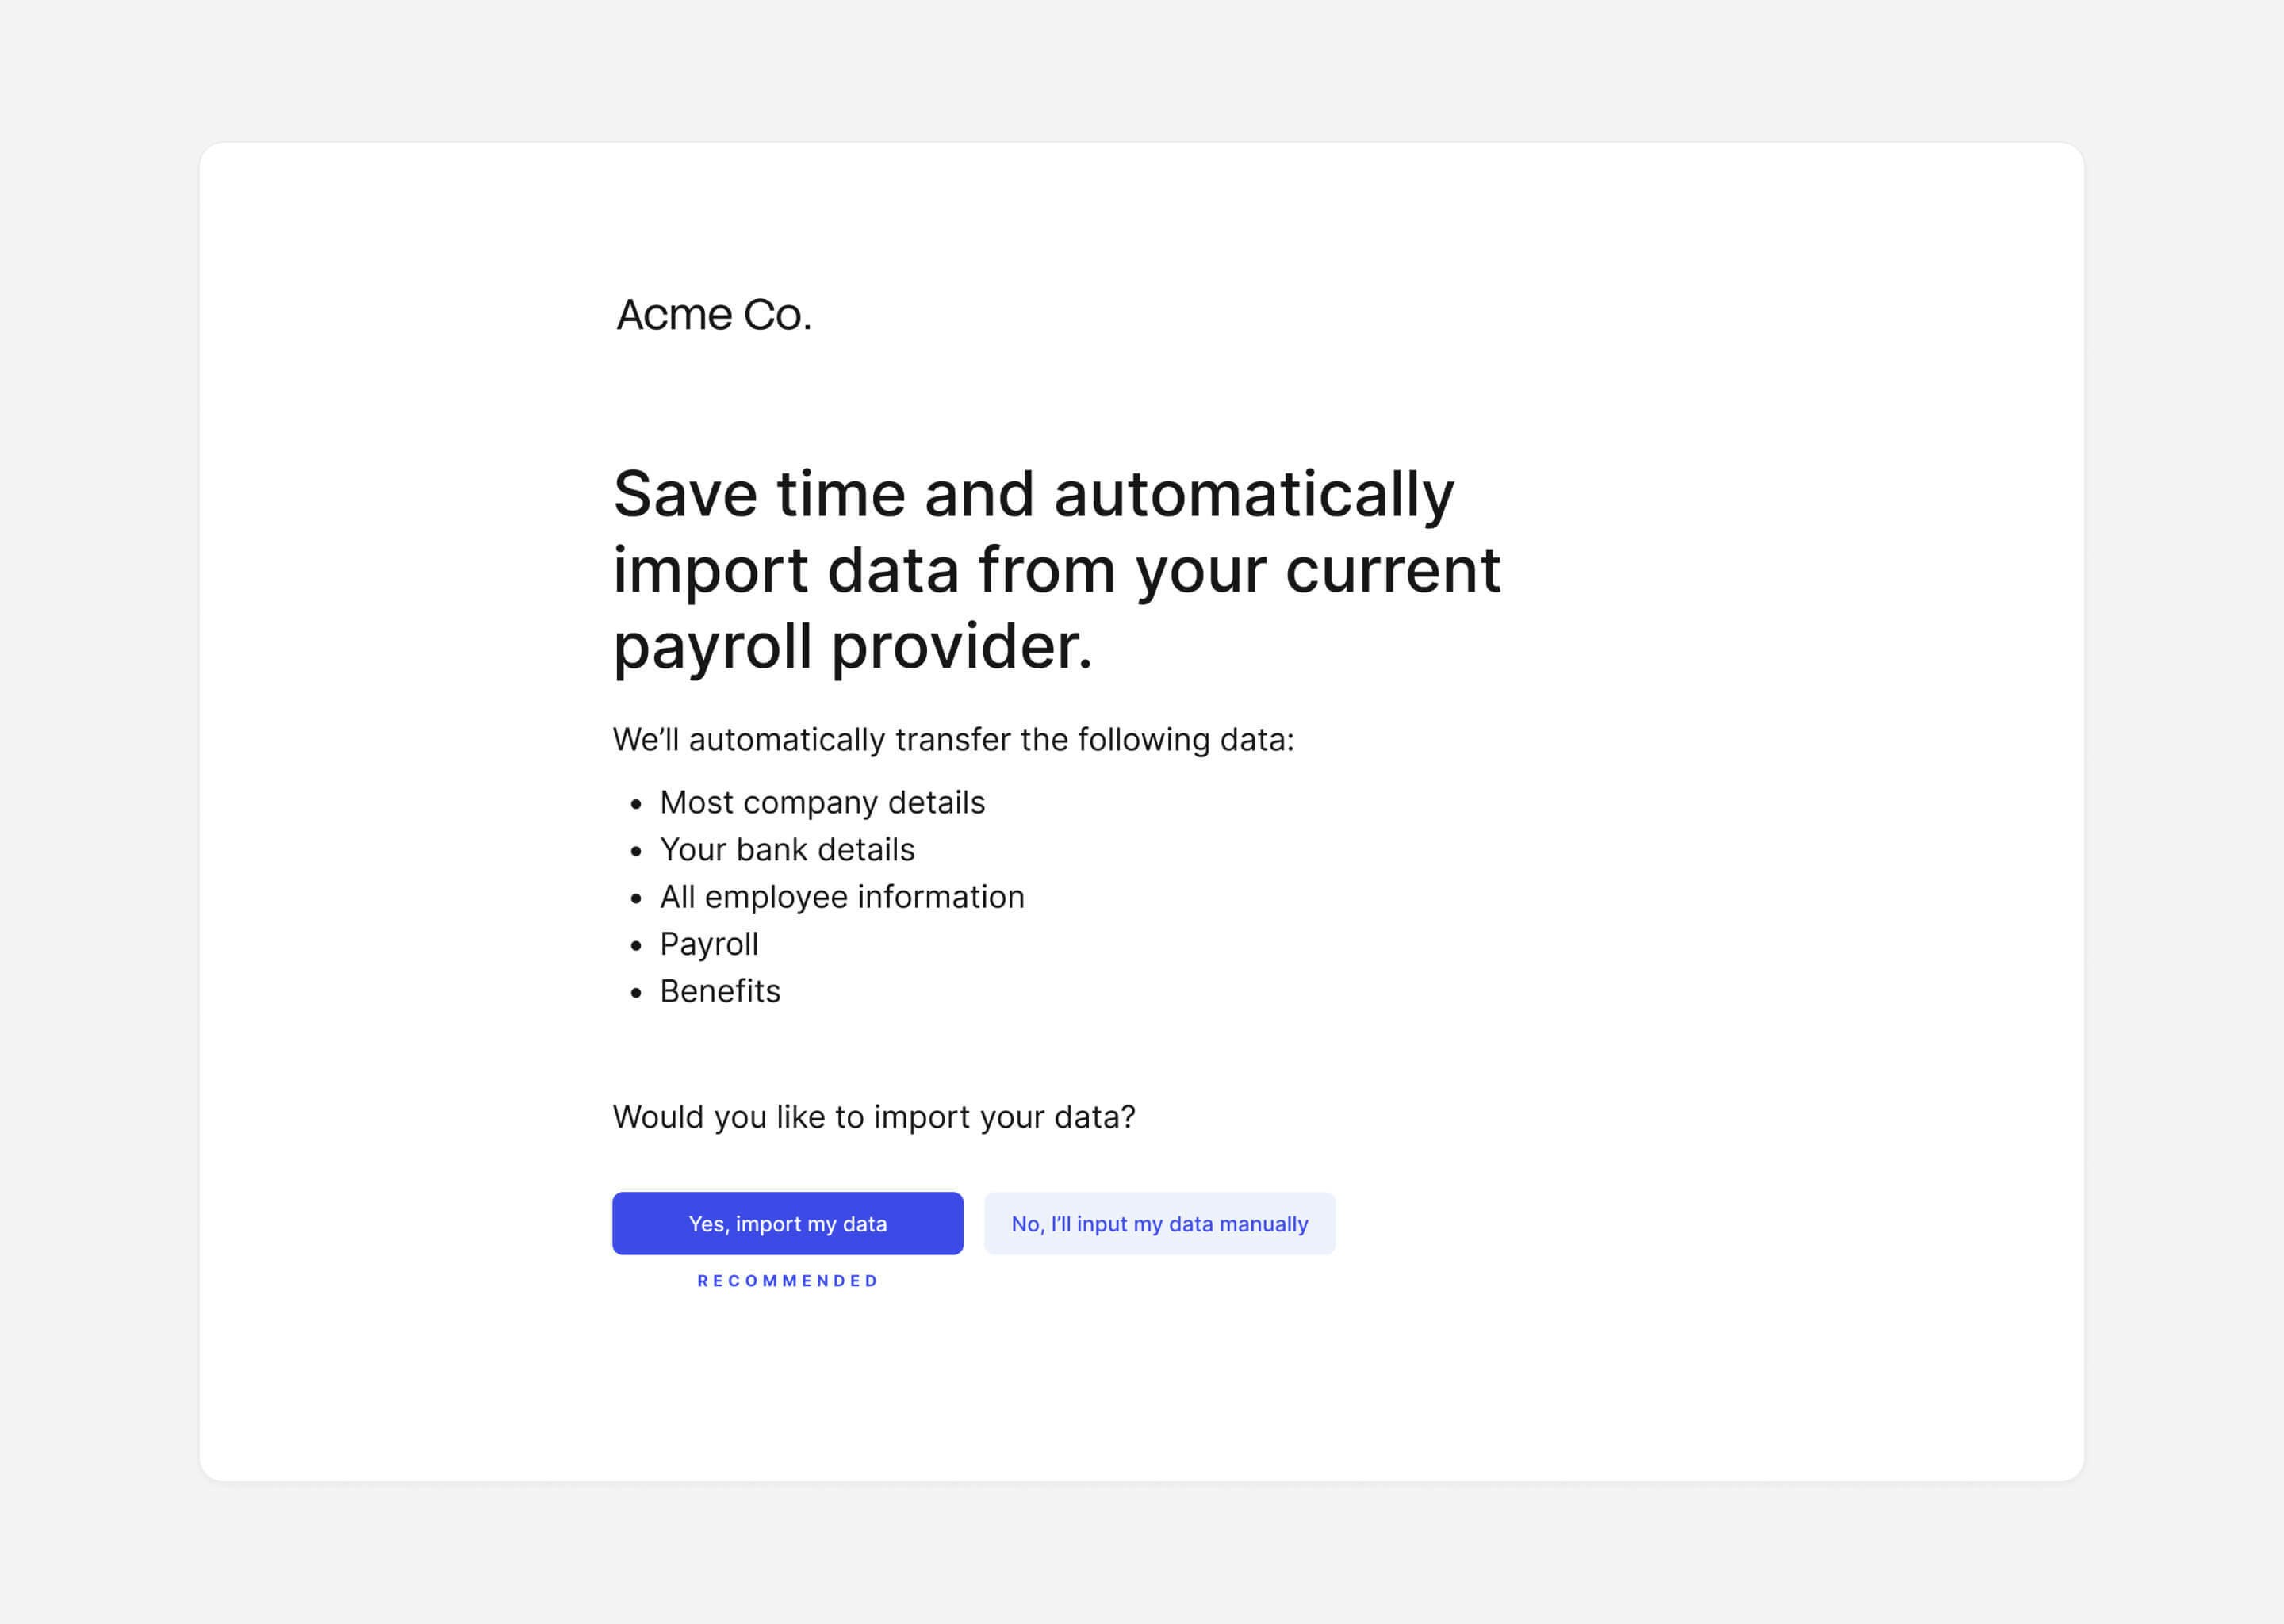
2. Communicate the value of connecting
The value for employers will depend on your use case, but may include:- Save time: Finch is easy to set up, and eliminates the need to create or reformat any files.
- Enable automation: Automatically share updates with us each day or week.
- More accurate: Avoid common errors (eg. typos, formatting errors, corrupted files, etc.).
💡 Tip: Finch’s Sales & Marketing Best Practices collection includes ready-to-use messaging examples for different employer types and use cases. Available on Starter, Pro, and Premier plans.
3. Set expectations before the connection flow
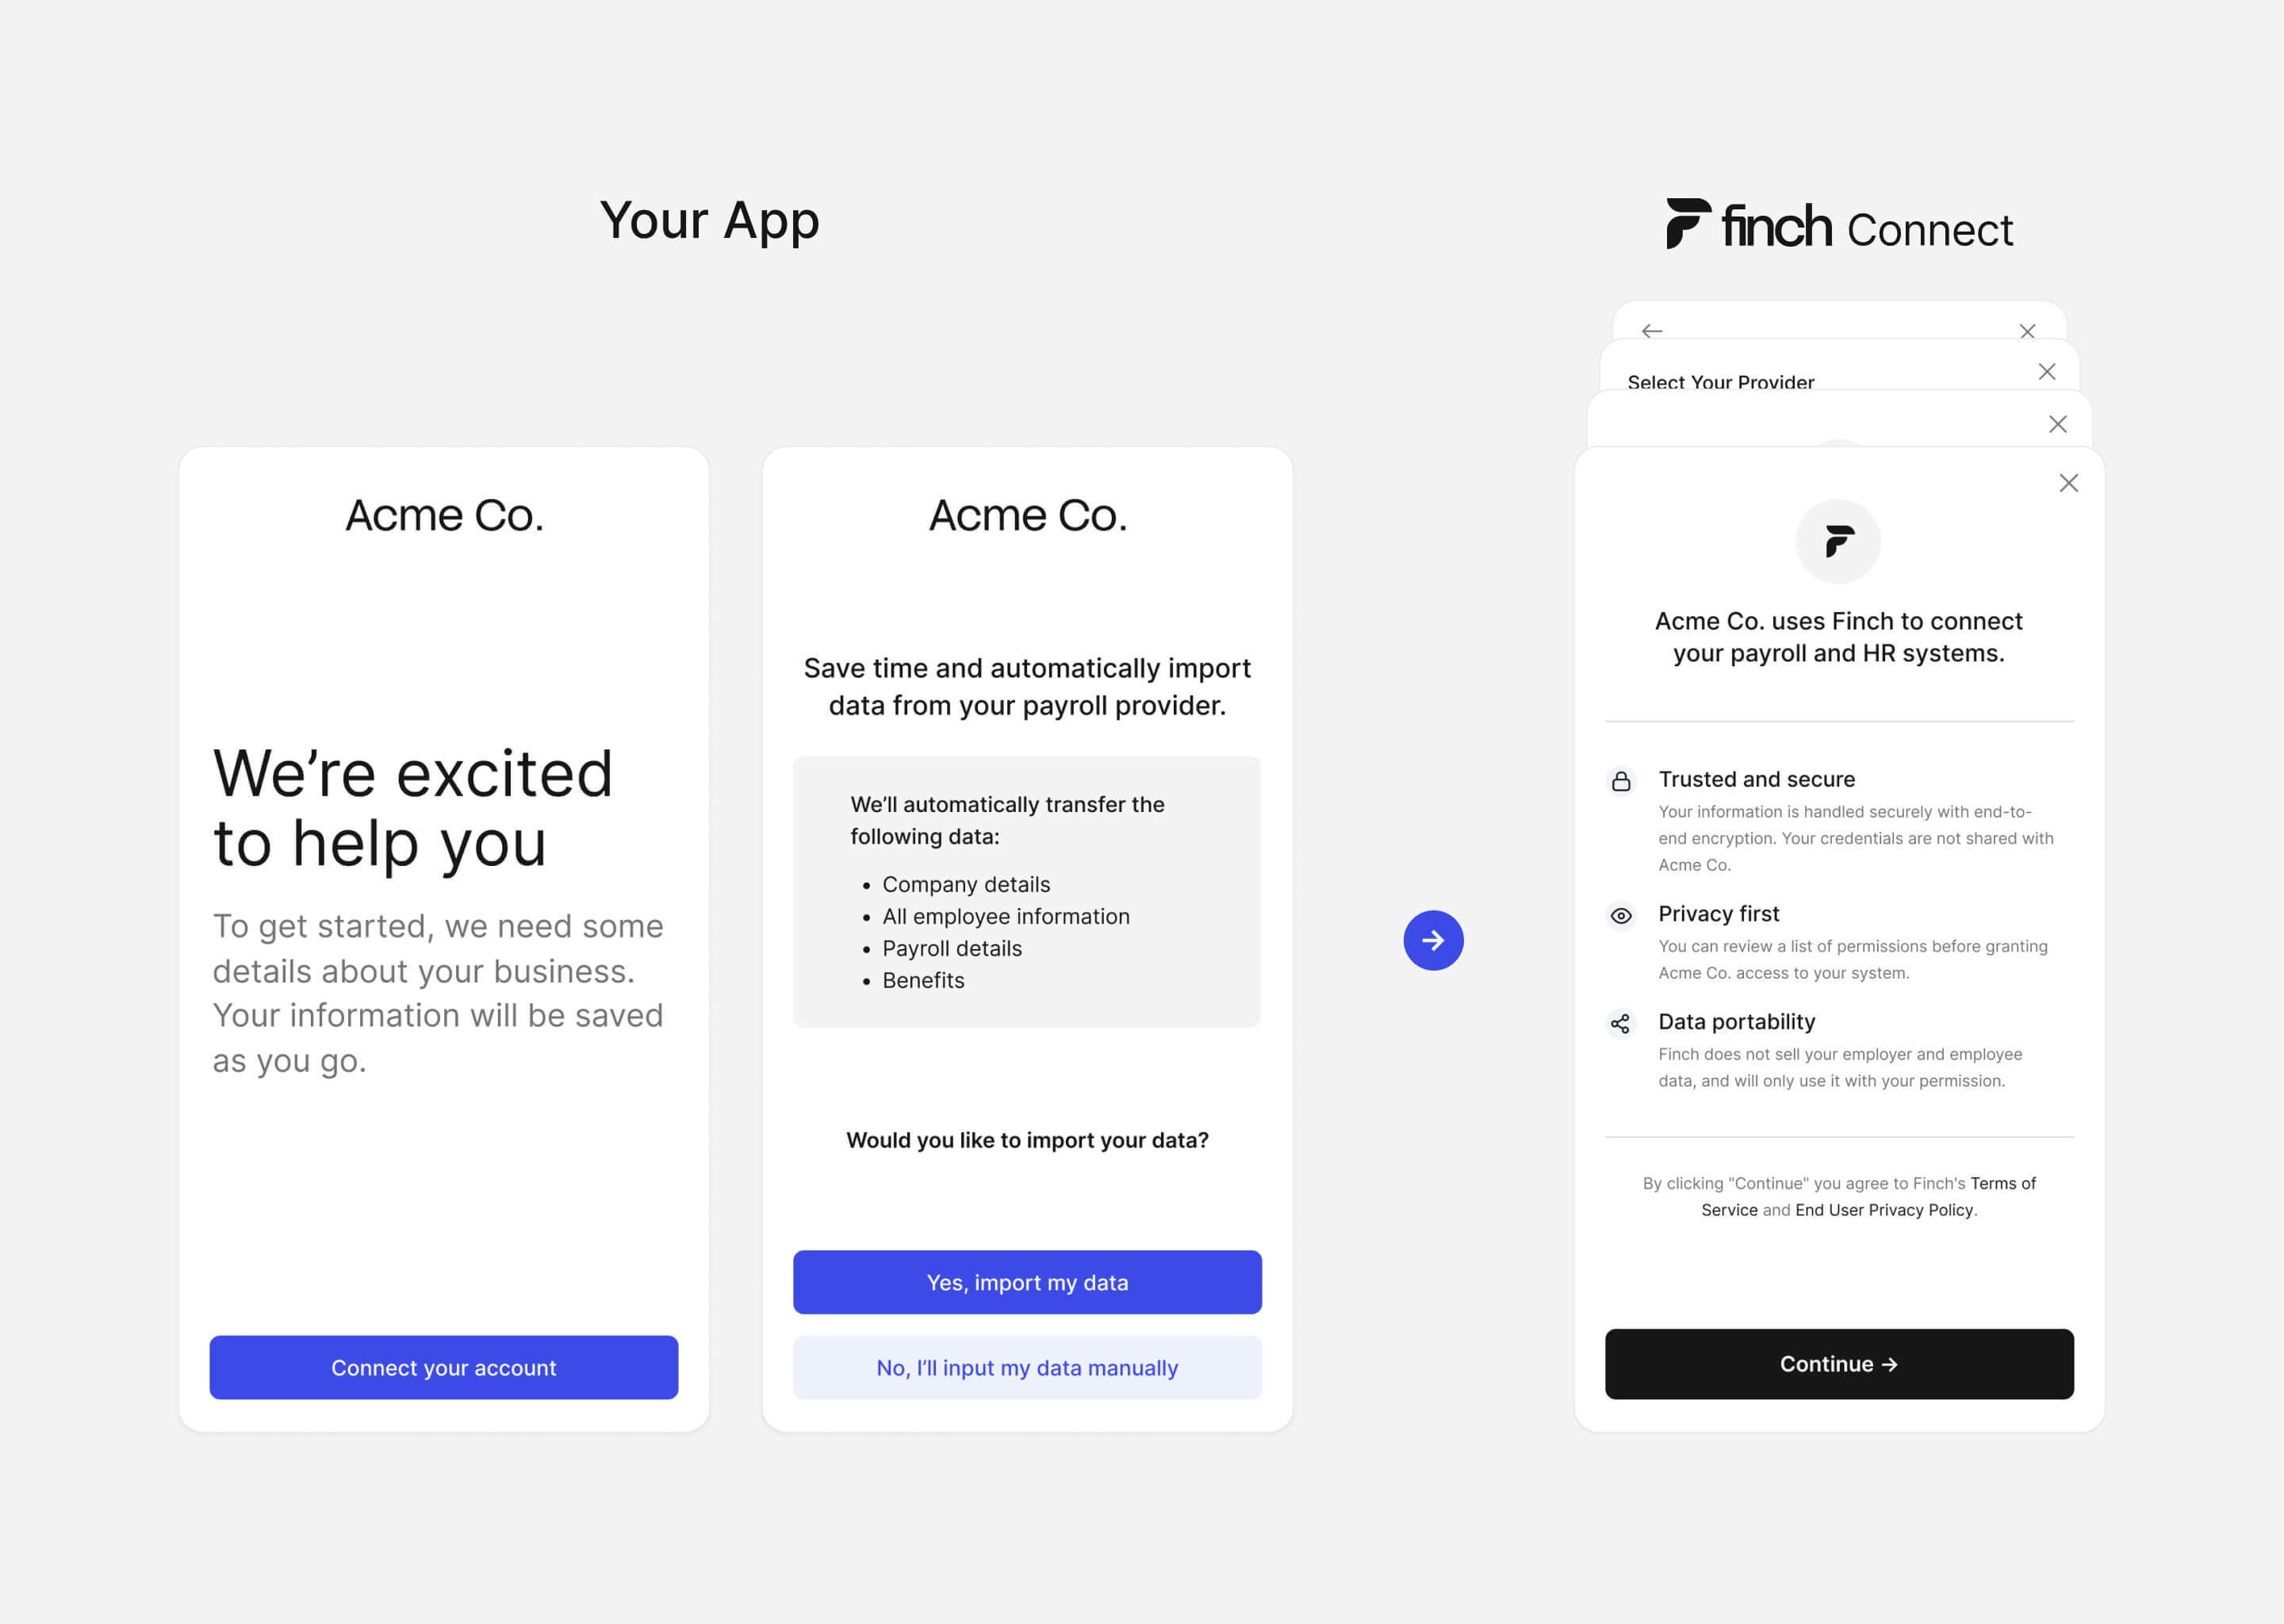
Before employers open Finch Connect, give them the context they need to proceed confidently.Tell the employer what to expect
Before launching Finch Connect, tell the employer they’ll connect their payroll or HRIS system, what data your app will access, and why. If credentials aren’t available, offer a ‘skip and come back later’ option and prompt them to connect later. Finch Connect guides employers through their provider’s authentication flow — including credential entry, OAuth steps, and other provider-specific requirements. You don’t need to send separate setup instructions or build per-provider guidance. Finch handles authentication differences across all supported providers directly in the UI.Emphasize data security
Let employers know that Finch encrypts all data in transit and at rest. Share the What is Finch? FAQ for Employers with employers who have further questions. Clarify that your app does not have access to their credentials, and that they can disconnect at any time. Link to Finch’s Trust Center for additional detail.4. Create multiple opportunities to connect
If an employer does not connect their employment system during onboarding, remind them to return. Use in-app messaging or email automations to prompt reconnection and explain the value. These same channels can notify employers when re-authentication is needed.5. Deploy Finch Connect early in the onboarding process
Authorization through Finch Connect completes quickly, but the initial data sync job can take time depending on the provider and data volume. Embed Finch Connect early in onboarding so the sync runs in parallel while employers complete other setup steps. While the data sync job is running, continue onboarding — collect additional information or show a product tutorial.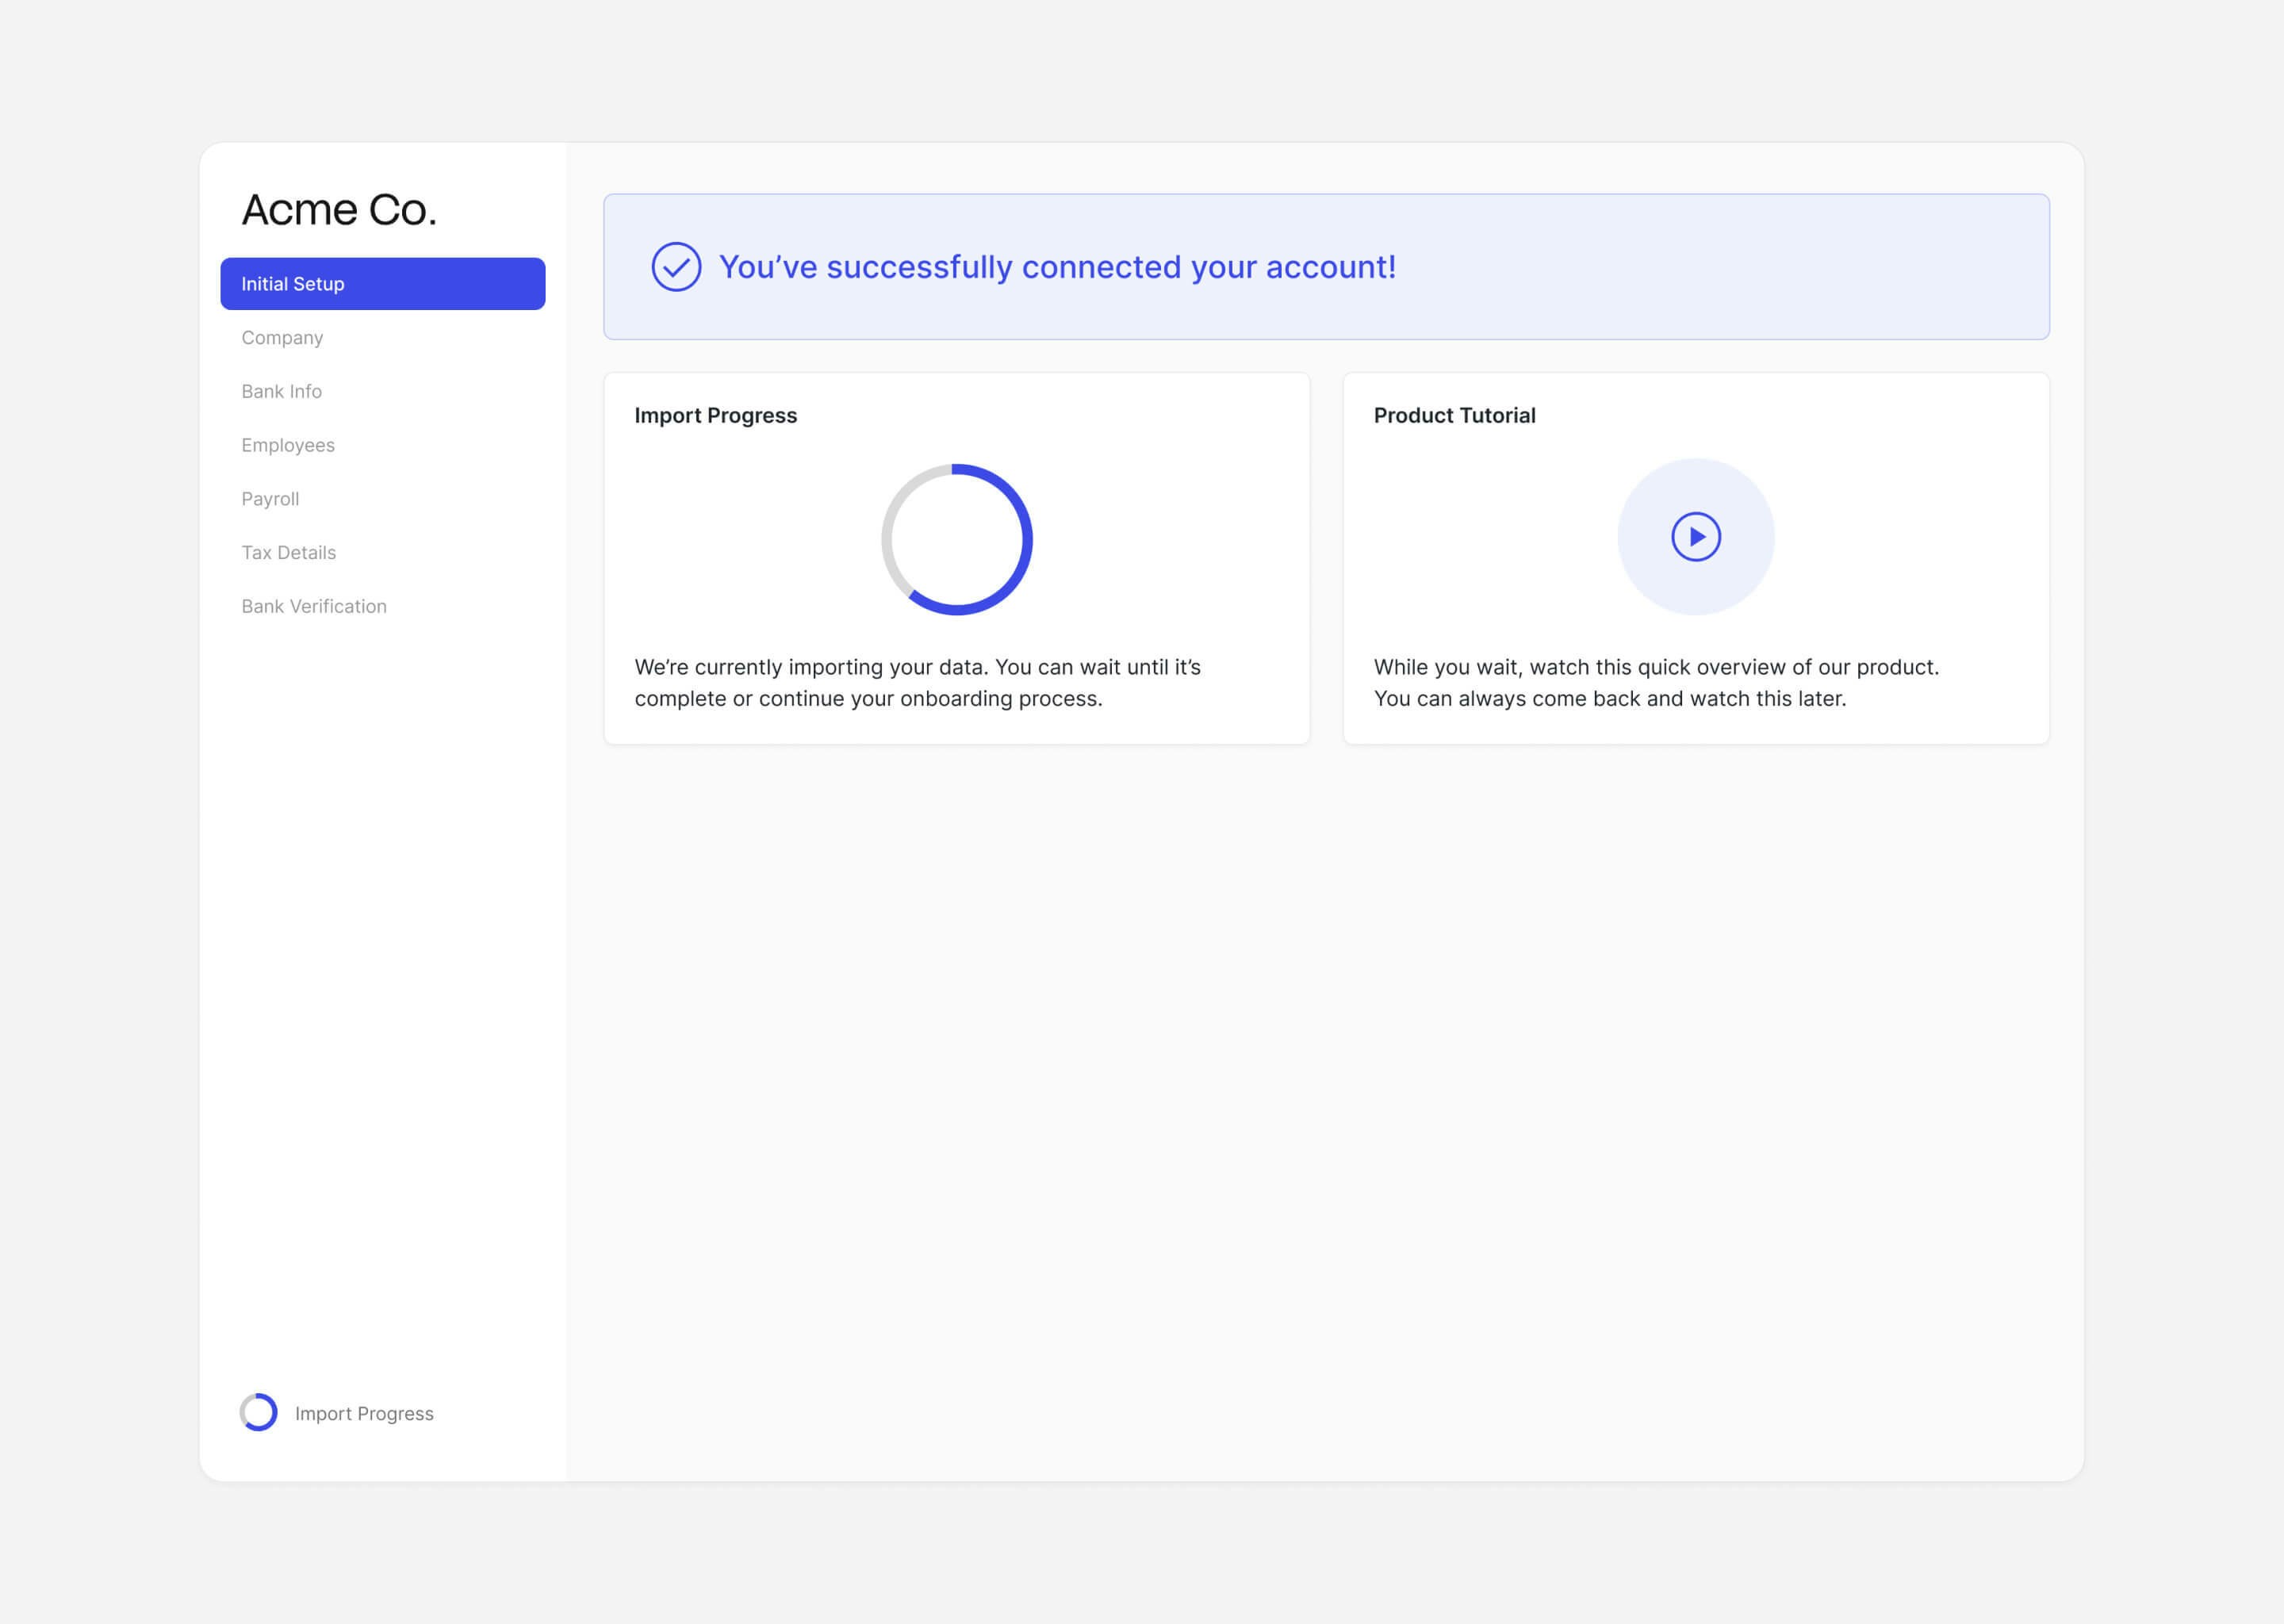
job.initial_data_sync_org and job.initial_data_sync_payroll webhook events to know when each sync completes — at that point, the corresponding Finch data endpoints are available for that connection. See Webhooks for setup and event details.
6. Bypass the provider selection screen
If your application already has a place where employers select or manage their integrations, you can pass the provider directly to Finch Connect instead of using the built-in selection screen. Pass a valid provider ID in theintegration.provider field when creating the Connect session. See the Providers endpoint for a full list of valid provider IDs. Omit integration to use the default Finch Connect provider selection screen.
Bypass Enabled
Bypass Disabled

Checkpoint + Next Step
Your application now has the messaging, defaults, and re-engagement flows in place to guide employers through Finch Connect and increase completion rates. For technical questions, the Support page covers how to reach the Finch support team.